Mundanity gets to one. Once you realize you’ve been eating the same food, you start ordering everyday, which also turns into a routine, and you find yourself surrounded by boxes of half-eaten meals in no time and self-diagnose with depression. Rationing the same gels and protein bars to the crew is something all captains should avoid at all costs because it’s the main underlying reason for mutiny on spaceships.
When you wear sweatshirts with similar designs all the time, something clicks at some point, and you find yourself asking questions answerable by none: “Why am I wearing this?” or: “Why did humanity evolve in a way to mandate clothing?” ” or: “Is there a way of existing possible beyond the pre-given conditionings of slippery concepts such as good and evil?”
The moment they are asked, these questions might seem to have been inevitably coming, but that is not the case. All the psychologists will probably agree that before the mundanity becomes overbearing, you have to find ways to make breaches on its impending walls as much as allowed by your professional, social, and domestic responsibilities: you have to open up spaces for creativity, productivity, and self-expression.
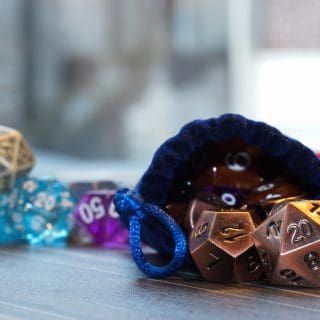
In that sense, embroidery is surely one of the easiest and most fun hobbies you can pick up. It’ll also give a different and unique look to your sweatshirts, so you won’t be wearing the same stuff everyday.
You can either embroider by hand or with the help of an embroidery machine – I am going to provide step-by-step guides for both these methods.
How to Embroider a Sweatshirt by Hand: A Step-by-Step Guide
After my highly inspirational introduction, you might have already picked up your embroidery equipment and gone wild on your least favorite sweatshirt with freeform figures or inspirational quotes, and there is certainly nothing wrong with it as it is one of the ways of how to embroider a sweatshirt.
You can draw anything you like on a piece of clothing with fabric markers and try to stitch it on with thread in any color of your liking. However, if you are a beginner and want to produce neat and professional-looking embroidery, I recommend you follow the steps below.
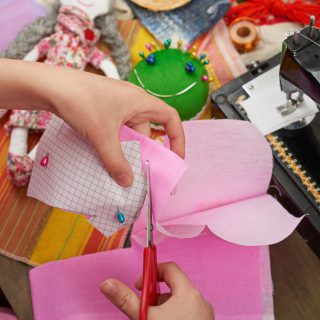
Step 1: Create a Pattern
For hand embroidery, it’s best starting with an easy pattern like a word or a simple tattoo design. Of course, you might go and print a death metal album art, but you’ll be the one embroidering it for days if not weeks and you’ll be the one paying for thread in all the wild colors of death metal (I am not even going to get into the heresy called technical death metal, so rude). Once you decide on a pattern, its font and size, print it.
Taking advice from friends about the word you are going to embroider might also be a good idea because you don’t want to have something cringe or generic on your sweatshirt. If you are just going to embroider the word “love” on it, don’t even waste your effort if you can’t precede that with “live” and “laugh”.
Step 2: Draw the Pattern onto the Sweatshirt
There are two ways you can do this: drawing it directly on the sweatshirt by hand (if you are good with pencils) or transferring it onto the sweatshirt using freezer paper. The former method is quite straightforward and requires no further explanation. The latter might be a bit more laborious, but the results will be much tidier, especially if you don’t like your handwriting or trust your drawing skills.
Freezer paper might be used more by embroiderers than butchers these days because they can transfer patterns to fabric using an iron, and leave no residue marks once removed. You just have to lay it on your print with its shiny side facing the pattern and trace the words. Then, iron it on the sweatshirt with its shiny side facing where you want your embroidery to be this time.
Step 3: Backstitch It
Prepare your embroidery thread and needle, thread ample thread through the eye of the needle, and tie knots on each end to secure it.
If you just drew your pattern by hand, you can just start backstitching it in the exact way you’d write it, starting with the first letter and following the movements of your handwriting so that it has a genuine look to it when you’re finished.
If you used freezer paper, you’ll have to stitch through it as well.
Step 4: Finish It and Remove the Paper
The final stitch should come out from the back of the fabric. Once you are done with that and you cut the loose thread, you can remove the freezer paper.
Pull the paper off carefully with one hand while securing your embroidery with another. There is inevitably going to be some pieces of paper left inside and around your stitches. You can either remove them by hand or carefully remove them with your needle without damaging the embroidery.
And that’s it! You have a brand new sweatshirt now!
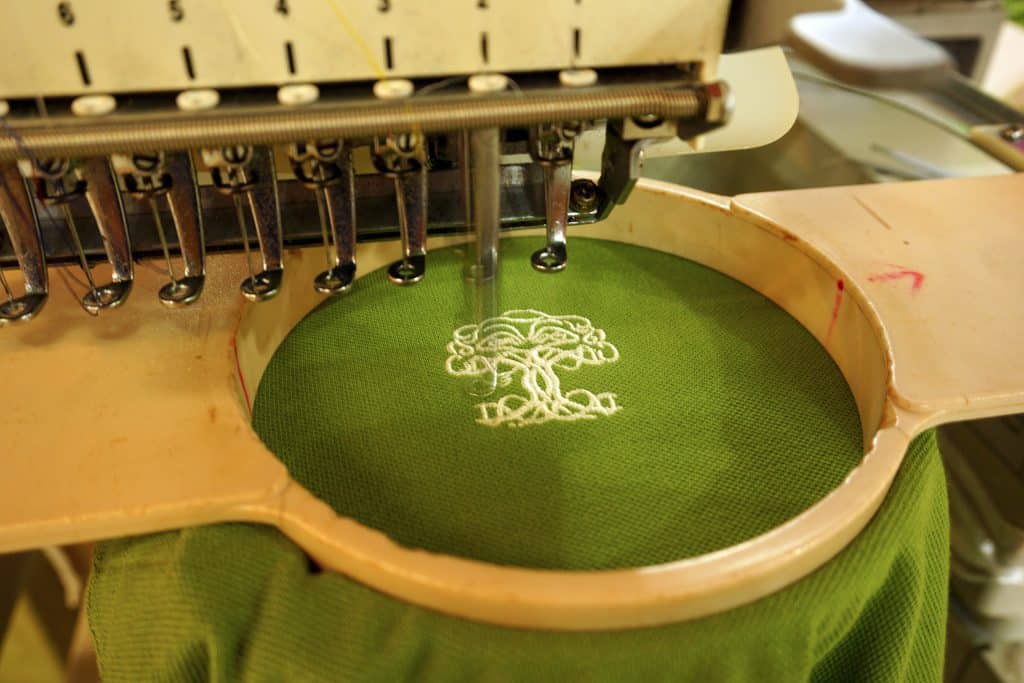
How to Embroider a Sweatshirt with an Embroidery Machine: A Step-by-Step Guide
Hand embroidery is best if you’re looking for a hobby and when you’re trying to satisfy a craving for creativity. However, if you have more professional inclinations about embroidery, I recommend you use an embroidery machine, and guess what, I just have the ultimate guide for that, too!
They might be a bit expensive for small projects and too digital for your liking, but the creative freedom they provide might prove matchless if you are passionate about remodelling your sweatshirts.
Now let’s see how they are used when embroidering a sweatshirt.
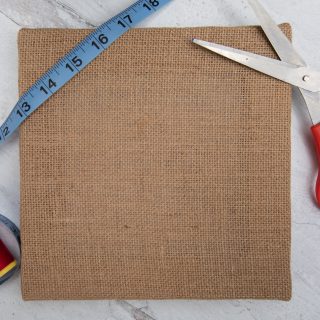
Step 1: Prepare the Fabric
Preparing the fabric includes two different steps: marking where you want the embroidery to be and stabilizing the fabric.
For the former, other bloggers will give you ideas about what kind of embroidery looks best where – as if you haven’t seen a sweatshirt in your life. I am not going to do that because I respect your sense of aesthetics and creativity. Just make your marking with a fabric chalk so that it can be easily removed after you’re done.
For the latter, you’ll need a fabric stabilizer, and I recommend the Terial Magic spray for that. It’s important for a smooth embroidery experience.
Step 2: Secure the Embroidery Area with a Hoop
For this step, you have to align the center of the embroidery area with the center of your embroidery hoop. You may not get it exactly right, but as long as the stitching stays within the hoop, it’ll be okay, so you don’t need to sweat yourself to achieve a perfect alignment.
Step 3: Prepare Your Embroidery Machine
Before you do anything rash, I am going to warn you: make sure that the back fabric of your sweatshirt is not under the embroidery area. Otherwise, it’ll be stitched with the front and you can say goodbye to your sweatshirt.
Once you make sure of this, attach the hoop to the machine, and upload your design. Start the machine, and it’ll take care of the rest.
Final Words
When you have the time, skills, and means, it’s very easy and fun to escape the mundanity of life in general and the boredom of having to wear the same stuff everyday by immersing yourself in embroidery projects. It’ll give old clothing a new look – a new look that is completely in line with your productive tendencies.
Add to that the abilities of sewing a hole, making a patch, and hemming shirts and dresses, and you can create a whole new wardrobe with brand new designs by your own without even spending money on fabric and, more importantly, on new clothes.
All things considered, don’t you think that embroidery is an extremely useful hobby to have?
Last update on 2025-07-03 / Affiliate links / Images from Amazon Product Advertising API