There are many different ways to sew canvas, and the method of choice will usually depend on what you need the canvas for.
Canvas is a heavy-duty durable fabric and it represents an excellent choice for many different sewing projects.
The most common ways to use canvas are:
- Outdoor activities such as camping or boating;
- Home decor projects;
- Bags;
- Accessorize;
- Decorative pillows, etc.
Due to its durability and thickness, the canvas is best sewn with a sewing machine (much better than hand-sewing).
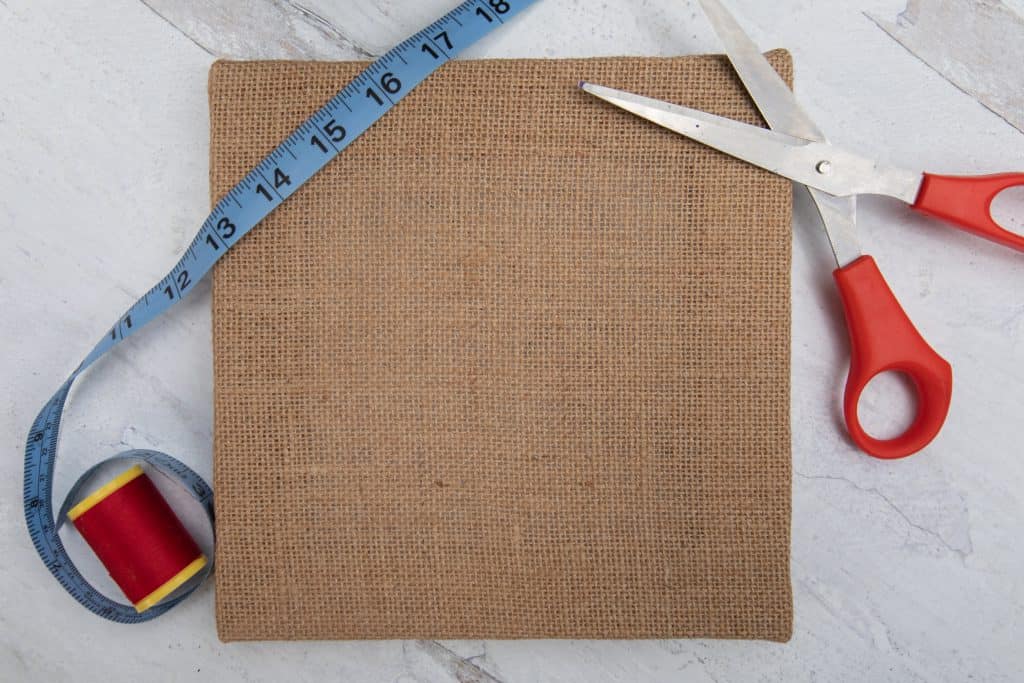
Luckily, when it comes to equipment, sewing the canvas doesn’t require anything more than usual stuff: thread, needle (or in this case a sewing awl), sewing machine, rotary cutter, scissors, ruler, and a cutting mat.
Also, you don’t need to be an expert-level sewist to make a proper sewing project with canvas. It only requires basic skills mostly.
The good thing is that the simplicity of sewing canvas allows for great creativity and freedom in expression, as there are not too many limitations in design for canvas sewing projects, meaning that you can set your imagination free and enjoy the process.
Before we jump to canvas-sewing techniques, let me debrief you about some common things to know about the canvas.
What Do I Need to Know About Canvas Before I Begin My Project?
Since canvas is a thick, woven type of fabric, it can require more effort than usual to sew. That’s why I would recommend taking hand sewing off the table.
What we’re left with here are the heavy-duty sewing machines specially designed for thick fabrics, or learning how to sew canvas on your regular sewing machine.
In order to prevent your sewing machine from being damaged, I strongly recommend that you pick the right presser foot tension, needle size, and thread thickness.
A sewing foot with a bulky overlock does an amazing job with thick fabric. If you don’t have one, I suggest you use the Distinctive Overlock Overcast sewing foot or Brother SA135, both available on Amazon. When installing the new sewing foot, follow the instructions on the packaging carefully.
When it comes to thread, make sure that you pick heavy-duty thread. Otherwise, it will break as you sew. You can find heavy-duty threads made of cotton or polyester, and these two are the best options when it comes to sewing thick or multi-layer canvas. Size 40 heavy-duty thread for outdoor use should be the ideal choice. If you want to use it as a tent cover, consider buying a thread with UV protection and a smooth coating.
Now, the sewing machine. You can use your regular sewing machine if you have one, if not, maybe check my sewing machine buying guide, where I have compiled and reviewed some of the best sewing machines I’ve worked with.
Just make sure to use your heavy-duty denim or leather needle on your sewing machine before you start for better durability. Pick the 90/16 or 100/16 needle size.
Or, Heavy Duty Singer Machine
The other option is to go for a heavy-duty Singer sewing machine, designed especially for heavy-duty materials, such as canvas. This machine can also be an excellent addition to your regular sewing machine, as it’s very affordable, and wouldn’t make a huge difference to your budget compared to purchasing a regular sewing machine alone.
This machine can make 23 different types of stitches, 12 of them being only decorative, which is something you’ll often want to use for your canvas sewing projects. The motor of this machine is at least 60% stronger than the regular machine motor, and this is important for the durability of machines that sew heavy-duty fabrics.
The maximum sewing speed is 100 stitches per minute, meaning that your projects which is the upper average for home units (industrial machines can make up to 6000 stitches per minute), so you can also count on finishing your projects quite quickly.
The machine is strengthened with a bed frame made of stainless steel and an interior metal frame. This means that it will endure any kind of heavy-duty sewing work, not just canvas.
If you plan on having several sewing projects with canvas, I’d strongly recommend getting a separate machine for these larger and heavier materials, but if it’s only a one-time thing, you can as well rely on the sewing machine you already have.
Now that you know everything there is to know about canvas, we can move to the next topic: sewing canvas tips and tricks.
An Overlapping Seam
You can start a simple canvas sewing project such as making a sail, a tote bag, or sewing two canvases together by making an overlapping seam. It’s one of the most basic stitches you can do on canvas.
First, use a fabric-friendly pen or marker to mark your seam allowance (you want it to wash off later). If your canvas is dark, you’ll need a marking pen of brighter color and vice versa. Then, indicate with a ruler how far you want to go. I think you’re good with some 0,5-1”. Mark the same measurement on both pieces of canvas.
Now, take some basting tape and cut a strip that matches your seam length. It would be good if the width also matches the seam allowance width for better stitch consistency. Place the tape on the seam so it remains in place.
Before you start sewing, peel the backing tape off, as you want to stick both pieces together.
Now, line the opposite edge together (the seam allowances should evenly overlap) and stick the opposite edges together using the basting tape. Connect the materials by pressing along the canvas edge, but don’t do it before you have both sides properly lining up.
Next, organize the pieces of the canvas so that the material edge is aligned directly beneath the foot of the sewing machine. Turn on the machine and make a straight stitching line alongside one of the seam edges. Make sure that the stitches are as close as possible to the edge of the seam. You will need to do this twice, so do not stitch in the central area of the seam allowance.
Flip the material 180 degrees, realign the sewing needle and place the material under the sewing machine foot. Stitch the fabric down again some 0.2” inches from the opposite edge. You should have two identical lines parallel to the other row.
Use a pair of sharp scissors to trim excess thread from the seams. Be careful, because you can easily undo the stitches if you cut in the wrong place. If your machine has a built-in thread cutter, it may be a better option to use this device.
Flat Felt Seam
If you want your stitches to be almost invisible on canvas, choose to make a flat felt seam. It’s an excellent choice when the visual appeal of the project is important to you. This kind of seam requires you to fold the fabric in, which is how seams end up being almost invisible on both sides of the material.
Keep in mind that this seam is best done with the sewing machine, but if you’re not very handy with it, it can be tricky to complete.
If you’re not sure what I’m talking about, pick up a pair of jeans from your closet and check out the side of the jeans. Well, that’s the flat felt seam.
Step 1
With a ruler and fabric marking tool measure between 0.5” and 1” of the seam allowance. The smaller the seam allowance, the smaller the margin of error.
When marking the seam allowance on canvas, make sure to make several dashes, as this will help you keep up with the guidelines later in the project.
Step 2
Now, overlap the canvases and use the pins to hold in one place. Then, pick up on edge and place over the other one, making sure that the seam allowances are properly lined up.
Because you won’t be using any basting tape here, make sure to use pins or binding clips on both the top and the bottom canvas edges.
Step 3
The next step is to feed the canvas (with both pieces overlapping) into the sewing machine. Stitch them together with a basic stitch and remove the clips or pins holding the canvases together as you feed the machine. When you’re finished, remove excess thread around the seam (if there’s any) with a pair of sharp scissors. You can also use a thread-cutter on your sewing machine if it has a pre-built one.
Step 4
Now, bring the piece of stitched canvas that’s the furthest on the right so it lines up with its opposite (the leftmost canvas piece). Fold it nicely and press so a fold forms over the seam.
Is the folded fabric covering the open seam, at least on one side? If yes, press on that edge so that another layer forms on your seam. This is the end of the backside of your project. When you press the fabric over the seam, the seam where the overlap is will have a folded look on the finished project.
Step 5
Turn the canvas on the other side to work on the front side now. Take a look first and assess how visible the seam edge is. The edges that you previously trim should be facing upwards this time.
What you want in this step is to be sure that the canvas you stitched is still half-folded.
Step 6
If it isn’t, fold it again, or if it is, just take the folded part of the canvas and move it left. The goal is to cover the seam with it and make it invisible. Run down the new fold with your fingers to steady the material and to make sure that the folded seam is in the center. Also, the canvas should be opened up and flipped to the outer side at this point. It should look like an open book.
Step 7
Take the canvas (folded as it is now) on the sewing machine and align the needle and the newly folded seam.
Feed the machine the material and stitch straight alongside the seam. Until you reach the edge of a folded seam, don’t stop sewing! A parallel line should form following the seam edge.
Step 8
Now, turn the canvas on the other side and place the needle to be aligned with the other edge of the folded piece. Run the needle through the canvas making a straight line with the thread. Keep on stitching until you get to the other side of the seam. Check whether there are two parallel stitching lines along the seam edges.
If you don’t have a lot of experience with a sewing machine, just go slowly, you will get there.
Finally, cut any excess thread with a pair of scissors or your sewing machine cutter, but watch out not to unravel the stitches. You want your sewn canvas to be stable and secure.
Sewing Specific Canvas Projects
So far, we’ve been through the basics of sewing canvas: what you need to be aware of and how to complete some simple projects.
However, there is so much more to do with canvas, as you may remember from the beginning of the article. I won’t be getting into details and step-by-step tutorials on how to sew each of these more demanding projects, but I will share some suggestions for you, along with relevant resources that you can consult.
Sewing a Canvas Sail
If you’re a water person and often go boat sailing, maybe you could try your sewing skills by sewing a canvas sail for your boat all by yourself.
Sewing a Canvas Tote Bag
Next, the tote bag can be an amazing gift for a friend or family member, or perhaps you’d wear one yourself. Making a tote bag is pretty easy, it requires beginner-level sewing skills. Here’s a tutorial that also comes with a pattern.
Sewing a Canvas Throw Pillow
In one of my previous articles, I gave a detailed tutorial on how to sew a throw blanket. When it comes to canvas, I wouldn’t exactly recommend it as blanket material, but it can be great for sewing throw pillows! Especially if it comes in fun colors and patterns.
Here’s a suitable tutorial on how to sew a throw pillow.
Conclusion
Working with materials such as canvas is great due to several reasons:
- There is so much room for creativity;
- It’s easy;
- It’s practical (equipping your tent, preparing for a picnic, etc);
- It makes for a great gift.
There are so many different options for what you can do with a piece of canvas (or pieces of canvas). This material is decoration friendly, you can even use acrylic paint to add your own stamp to the design, or you can sew the decorative elements such as patterns, appliques, decorative stripes, or pom-poms.
If it’s your first time working with canvas, take it slowly, it’s a heavy-duty material that can be difficult to work with. Don’t pressure yourself into speed, because the most important part of the process is that you enjoy it, and finish with a good-looking, useful product.
If this tutorial was useful for you, I invite you to check out the rest of my website for more similar guides or product reviews. Enjoy!
Last update on 2025-07-10 / Affiliate links / Images from Amazon Product Advertising API


