Knowing how to sew elastic is a skill that can come in handy in a variety of sewing projects. Whether you want to repair the waistband of your favorite pair of yoga pants or stitch up a brand new garment for yourself or a loved one, learning how to sew elastic beforehand will help you complete the project quicker and easier. It’s important to keep in mind that sewing elastic into clothes is a bit tricky due to the stretchiness it provides. Depending on the results you’re after, you can choose between two methods for sewing elastic: the direct one or the one with a casing. Read on to find out which one suits your needs best and how to execute it.
Method 1: Sewing Elastic Directly to an Edge
The process of sewing elastic directly into an item of clothing is relatively straightforward. This method delivers a gentle gather and is ideal for knit fabrics, leotards, and other similar projects that feature an elastic waistband, neck, and/or legs. Bear in mind that the direct method is seldom used on woven fabrics.
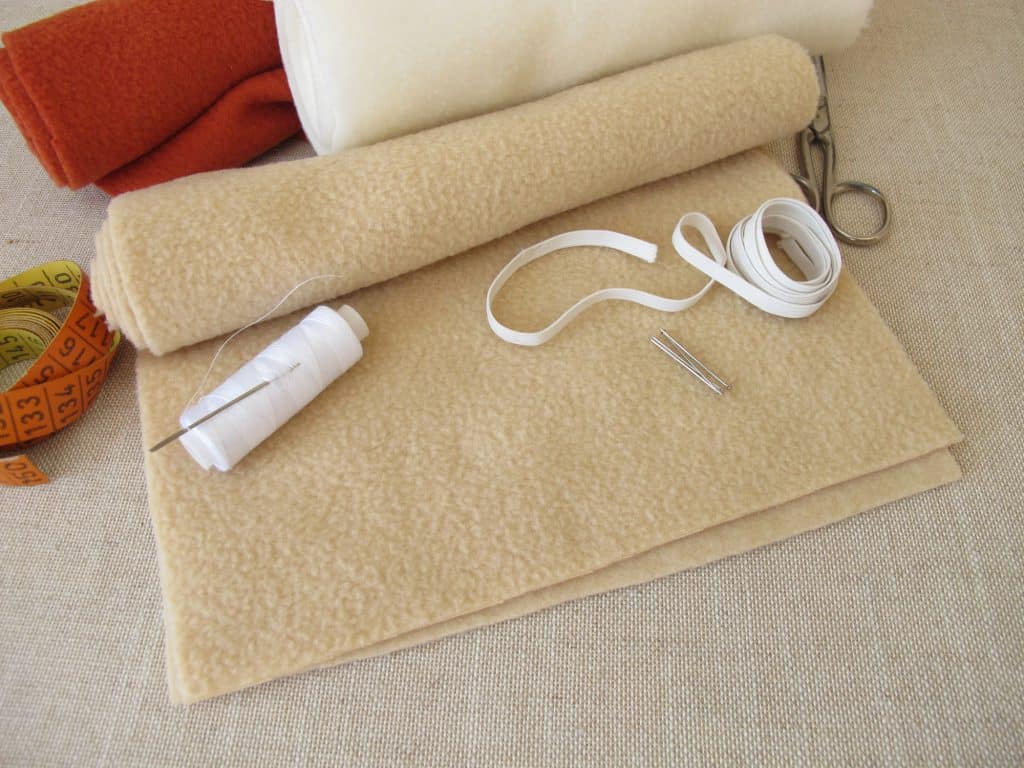
When it comes to supplies, the direct method should be performed with ballpoint or stretch sewing needles. Stretch sewing needles are designed to provide ample space for the hook to pass close by and eliminate the risk of skipped stitches, which makes them perfect for elastic, highly elasticated synthetic fabrics, spandex, lycra, and other fabric options. Elastic should be sewn to an edge with an all-purpose sewing foot and a quality, sturdy thread such as polyester. Steer clear of cheap alternatives as they can break in the middle of your project and cost you time and money.
The final piece of this puzzle is the elastic itself. It’s best to opt for a woven or knitted elastic as these types are quite stable and don’t narrow when stretched. If you’re sewing elastic into a leotard or a swimsuit, look for a swimwear elastic that can survive sweat and chemicals.
Okay, now that you know what you need to have at hand for this method, it’s time to walk you through the process step by step.
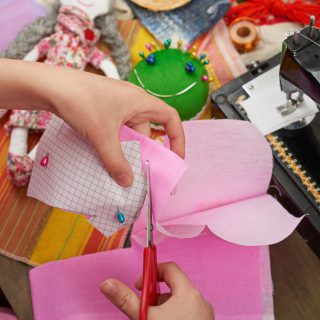
Step #1: Measure and Cut the Elastic
Start by measuring the part of your (or your loved one’s) body that the elastic will be wrapped around. For instance, if you’re sewing an elastic waistband, measure around the wearer’s waist. This measurement is in fact the length to which you should cut the elastic. You can, of course, decrease the measurement by a few inches if you or the person you’re doing this for wants a snug fit. Once you figure out how much elastic you’ll need for the project in question, proceed to the second half of this step which is cutting the elastic.
Step #2: Sew the Elastic Ends Together
First, fold the elastic into a loop, overlapping the ends by around half an inch. Then, stitch the ends together using the zigzag stitch function on your sewing machine. For optimal connection between the two ends, sew across them twice. Using a scrap piece of fabric is a great alternative to the previous solution. To avoid dealing with bulges, place your elastic on the piece of fabric you want to work with, align the edges, and sew them together with a zigzag stitch. Feel free to use two rows here as well.
Step #3: Divide the Elastic Into Quarters and Pin It to the Fabric
One of the easiest ways to do this is to pin the seam you sewed in the previous step to the seam on the fabric of your garment. If you can’t seem to find a seam in the fabric, place your first pin anywhere you want. Next, pin the elastic’s opposite side to the fabric’s opposite side. Repeat this for the other two opposing sides of the elastic. This is how you’ll divide both the elastic and the fabric into 4 equal sections. Please keep in mind that you need to pin the elastic on the wrong side of the fabric and place the edge of the elastic around a quarter of an inch from the fabric’s edge so you can hide the elastic when you sew it in place.
Step #4: Sew the Elastic in Place
It’s now time to get behind your sewing machine and sew the elastic in place using the zigzag stitch setting. Be sure to stretch out the elastic and sew along its top edge. Keeping the elastic stretched will ensure that the fabric and the elastic are the same length. For optimal stability, overlap the start of the stitching a little bit.
Step #5: Cover the Elastic
This is the aesthetic part of the direct method. Since elastic bands aren’t visually appealing, hiding them is the standard practice. This can be done quite easily: just fold down the elastic towards the wrong side of the fabric by its width and pin it in place. The fold needs to be even and the elastic needs to lie flat before you continue to the last step.
Step #6: Sew the Folded Fabric
Finally, sew along the bottom edge of the fold using a zigzag stitch. Go all the way around the elastic and overlap the beginning of the stitching by an inch for increased stability.
Method 2: Sewing Elastic in a Casing
This method is ideal for projects where the fabric around the elastic needs to lie flat and/or fuller gathers are needed. It’s mainly used on waistbands, but it does the trick on ankles, sleeves, and necks, too. If you’re working with a woven fabric, this is your best option.
Since you won’t sew directly on the elastic (with a minor exception explained below), you can use the most suitable needle, sewing foot, and thread for your fabric. If the fabric of your choice is woven, you should go with a universal needle, an all-purpose sewing foot, and an all-purpose thread. For the best results, make sure to buy soft elastic. Braided elastic is the safest choice here.
All right, let’s see what this method includes.
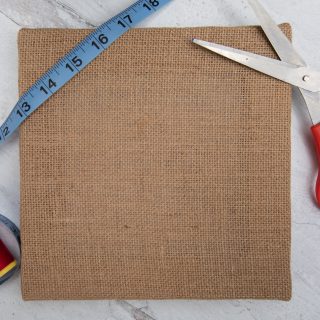
Step #1: Measure the Width of Your Elastic
To make a casing big enough for your elastic, you need to measure the width of the elastic. Then, you need to increase the number you got by half an inch. So, if your elastic is 1 inch wide, the casing needs to be 1½ inches wide.
Step #2: Fold Over the Necessary Amount of Fabric
Once you determine the width of the casing, proceed to fold over the necessary amount of fabric towards the inside of the clothing item. This will help you hide the raw edges inside the piece when the work is done. For aesthetic and practical purposes, ensure the fold is completely even. Finally, pin the fabric in place.
Step #3: Mark the Opening for the Elastic
The casing needs to have an opening wide enough for the elastic to fit into. A good rule of thumb is to make the opening about half an inch wider than the elastic. Mark this area by putting two pins on each side of the gap.
Step #4: Sew the Casing
It’s now time to grab your sewing machine and sew along the edges of the fabric to secure the casing. Apply a straight stitch about a quarter of an inch from the fabric’s edges and be sure to leave the area you’ve marked for an opening unstitched.
Step #5: Measure and Cut the Elastic
Just like in the direct method, you need to determine how much elastic you need. It’s the same drill: measure the part of the wearer’s body around which the elastic will go and use that measurement to figure out how much elastic needs to go into the casing. If you want a snug fit, make sure to subtract half an inch or a little bit more from the number you got. Finally, cut the elastic to the desired length.
Step #6: Thread the Elastic Through the Opening With a Safety Pin
First, attach a safety pin to one end of the elastic and close it, but be sure the pin isn’t too close to the elastic’s edge so it can’t come out. Next, insert the closed safety pin through the gap you’ve left in the casing. After that, work the safety pin through the casing until the pin and elastic duo comes out the other side of the gap. If you find this part difficult, try stretching and pulling the fabric to move the elastic more easily, but be sure not to twist the elastic while doing so.
Another important thing to keep in mind here is the other end of the elastic. You need to secure it while you work the safety pin through the casing. This might be a bit tricky for some of you, which is why it’s smart to attach the other end to the outside of the elastic casing using a safety pin.
Step #7: Sew the Ends of the Elastic Together
Once you work through one of the ends of the elastic through the casing, you need to remove the safety pin and align the ends. Overlap them by about half an inch and sew them together with a zigzag stitch.
Step #8: Sew the Opening Closed
Now that the ends of the elastic are securely connected, it’s time to close the opening in the casing by sewing across its edge. And that’s pretty much it!
Final Words
That wasn’t so scary, was it? Yes, you might make a few mistakes here and there, but practice makes perfect, which means you’ll get the hang of sewing elastic in no time! Just follow the advice and steps mentioned above and try to enjoy the process. Good luck!