Executing small and simple sewing projects can be super-fun, but you know you’re not playing games when you finish your very first pair of pants. Unlike what some of you might think, sewing pants doesn’t have to be hard. If you’re a newbie or don’t feel confident in your skills just yet, I strongly suggest trying your hand at a basic pants sewing pattern like the one I’m about to present. If you like having more than one option, check out the five free pants sewing patterns at the end of the article. All right, let’s get started!
Step #1: Gather Your Supplies
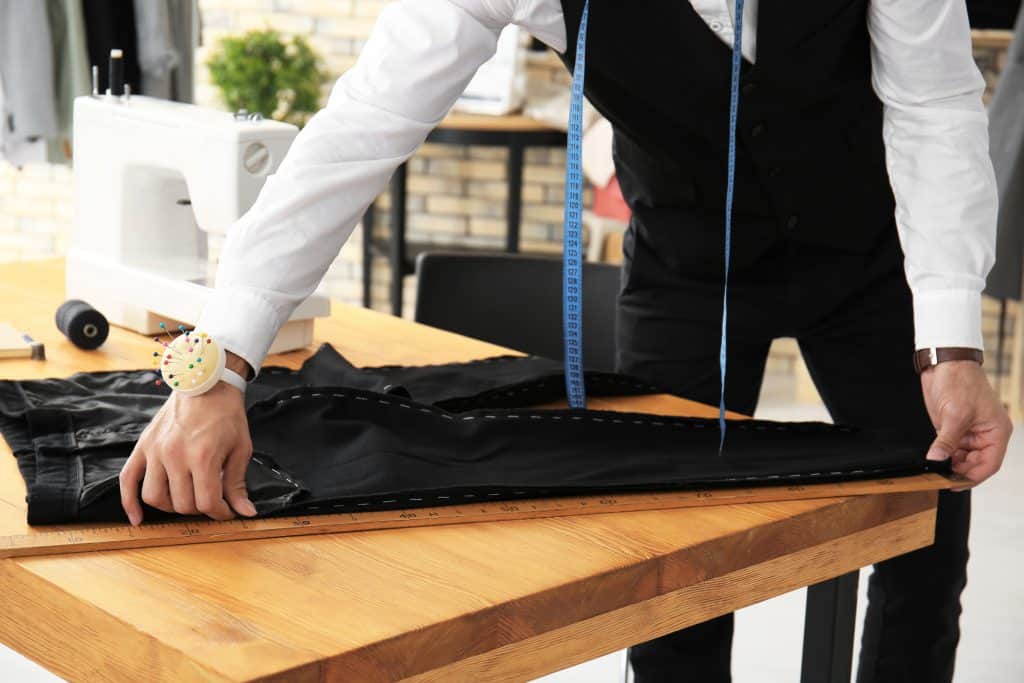
To complete this sewing project successfully, you’ll need the usual equipment and tools: a functioning sewing machine, a measuring tape, a fabric marker, sewing pins, a safety pin, scissors, and an iron and ironing board set. When it comes to materials, you’ll need a pair of well-fitting pants to base your pattern on. For the actual pants, you’ll need to buy 3 yards of a quality woven fabric (linen, cotton, and flannel are my top 3 picks here), 1-inch-wide elastic, and, of course, a matching thread.
Step #2: Prepare the Fabric of Your Choice
The real work starts right now. Once you get your fabric, you’ll need to launder and dry it if it isn’t already washed. To get rid of all the annoying wrinkles, you can also iron the fabric you plan on working with. Finally, you need to create two 1½-yard pieces by cutting your fabric in half.
Step #3: Trace Around an Old Pair of Pants
It’s now time to draft a pattern.
- Start by folding one of the fabric pieces in half lengthwise and make sure the fabric is wrong side out.
- Next, place your old pair of pants on the fabric, lining up the pants’ outer seam with the fabric’s fold and pulling out the crotch.
- After that, trace around the pants’ edge using a fabric marker or a chalk. To be able to hem the pants and add an elastic waistband, you must trace half an inch away from the side of the pants, 2 inches above the waistband, and 2 inches below the bottom of the pant leg.
Unless you want to make yourself a pair of bold one-legged pants, repeat this process with the second piece of fabric.
Step #4: Cut Out the Pant Legs
Grab your scissors and cut away! Follow the lines you drew in the previous step, but be careful not to cut along the fold. Obviously, you need to do this with both of the fabric pieces.
Step #5: Sew the Pant Legs and the Crotch Seam
First, pin together the inside of the pant legs. Begin at the crotch and end at the bottom of the leg. Then, turn on your sewing machine and sew a straight line with a ½-inch seam. Zig-zag stitches are a great way to stabilize and reinforce seams as well as create durability, so feel free to use one along the raw edges of the pants you’re making.
When it comes to sewing the crotch seam, pin together the crotch of the pants after you’ve turned one of the pant legs right side out and put the other one inside it (inside the right side out one). Only then you can start sewing the crotch with a ½-inch seam allowance.
Step #6: Measure Your Waist
Elastic makes every piece of clothing more comfortable when it’s the right size. So, don’t take this step lightly! Carefully measure your waist with a measuring tape and increase the result by an inch. Use that measurement to cut a piece of elastic for the waistband.
Step #7: Sew the Elastic Casing
To form the elastic waistband casing, you need to first turn the pants inside out. Then, fold the waist’s top edge down a quarter of an inch and press it firmly. Fold it down for a second time, but increase the width of the fold to 1¼ inch. Now it’s time to sew the folded edge along its bottom, leaving several inches in the back unstitched.
Step #8: Feed the Elastic
To be able to insert the elastic waistband, you need to attach a safety pin to one of its ends. Insert the elastic in one of the casing’s openings and feed it all the way through the other side. Hold the safety pin firmly to avoid losing the elastic in the waistband. When you finish this step, you should have two elastic pieces coming out of the waistband.
Step #9: Close the Waistband Opening
First, you need to overlap the elastic by half an inch and sew together. You should then take off the safety pin to allow the elastic to slip inside the casing completely. It’s now time to sew the waistband opening closed without catching the elastic. It’s best to close the two openings by hand, while the casing should be closed at the bottom with a sewing machine.
Step #10: Hem and Finish the Pants
Woohoo, you’re almost there! The last part of the pants-sewing process is sewing the hem. To be able to hem the pants, you need to have them turned inside out as well as have the bottom of the pant legs folded up by an inch and pinned. Once you complete this, you can turn the pants right side out, carefully iron them, and, of course, try them on. If the pair you used to draft the pattern in step 3 fits you well, your new pants will, too!
Other Free Pants Sewing Patterns
Want to have more than one pants sewing pattern so you can compare them and pick the one that suits you best? Don’t worry, I’ve got you covered. The following five pants patterns are both easy and beautiful. Read on to find out what makes them worth your consideration.
Comfy Straight Pants by Sew Guide
I’m totally in love with Sew Guide’s pleated straight pants. They’re stunningly casual, but you can combine them with an elegant top for a dressier occasion. These pants feature a flat front waistband and an elastic back one. The instructions are detailed and accompanied by pictures, meaning all your questions will (probably) be answered.
Basic Yoga Pants by Birch Fabrics
Sewing a pair of yoga pants can be a wonderful way to familiarize yourself with the basics of pants-making. The basic yoga pants sewing pattern by Birch Fabrics delivers a simple yet stunning piece of clothing. If you’re a fitness enthusiast, a busy mom, or just someone who loves wearing comfy clothes whenever possible, do give this pattern a try. Since it includes just one pattern piece, you’ll stitch these pants up in no time. Fair warning though: you might end up sewing more than a single pair!
Flattering Drawstring Pants by Martha Stewart
Ah yes, Martha Stewart and her impeccable creations! The woman has taught so many of us how to cook, clean, decorate our homes, garden, and yes, even sew. Her drawstring pants sewing pattern is extremely easy and simple, and requires only 2 yards of fabric, 1 yard of twill tape, a sewing machine, fabric and sewing scissors, clear tape, an iron, machine needles, a matching thread, a large safety pin, and the free template. You can complete this lovely sewing project in 6 simple steps.
Knit Lounge Pants by iCandy Handmade
If working from home during the global pandemic has taught us anything, it’s that you can never have too many pairs of lounge/PJ pants. Okay, I’m obviously exaggerating and I’m not saying you should sew dozens of iCandy Handmade’s knit lounge pants, but you should definitely check them out. These lounge/PJ pants feature a lower waist and are semi-fitted, which makes them ideal for slow mornings and lazy afternoons.
Pajama Pants for Kids by Oh Yay Studio
Last but not least, the DIY kids’ pajama pants sewing pattern by Oh Yay Studio is the perfect pick for those of you who haven’t gotten behind their sewing machine in a while. These cozy and cute PJ pants for children feature hemmed legs and an elastic waist. If you don’t want to bother your little one with taking measurements, you can draft a pattern based on a pair of pants that fit them nicely. This sewing project can be completed in about 30 minutes, which makes it ideal for practice.
Final Words
The thought of sewing a pair of pants is scary to many beginners but, truth be told, this endeavour can be quite easy. If you know how to use a sewing machine and measure fabric, chances are you’ll do a great job. In case the final result is a bit disappointing, remember that there’s always a next time.


