Quilting helps you relax, have fun, and perhaps make something nice and useful. Most people practice quilting with a hoop for improved accuracy and a hands-free approach, that reduces the stress on your hands.
However, if you plan on having a short quilting session and making something small, you can skip the hoop, because it’s not very likely that you’ll get tired so quickly.
There is an alternative way to quilt that requires using solely your hand. This kind of quilting requires some experience, so you should prepare for a trial-and-error process. But hey, which sewer didn’t have to go through this while learning how to sew?
Here is a step-by-step guide on how to practice quilting without using a hoop.
Quilting Without A Hoop
Quilting without a hoop may seem difficult at first because it means losing support for your hands, but once you get a hold of it, it’s actually quite easy. The most important part is to learn the three basic steps, and the rest will follow with ease.
Necessary Supplies
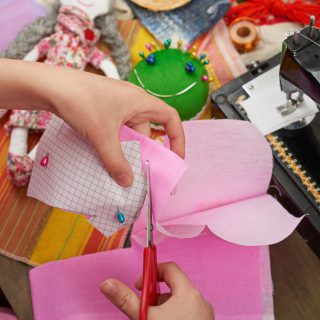
The upside about quilting without a hoop is that it doesn’t require too many supplies – mostly the basics.
Thimbles
The purpose of using a thimble is to avoid piercing your finger. There are various types of thimbles to choose from: ceramic, leather, metallic, or plastic. Although I prefer a metallic one, I strongly recommend testing each type before deciding. Having a comfortable thimble is safe and fun quilting 101.
Where To Buy Thimbles?
Since I don’t enjoy shopping too much, I tend to buy everything I can online. The one place online where you can find literally anything you need is Amazon. I suggest buying a pack of thimbles that contains thimbles made of different materials so that you can switch between different types until you hit the right one. Here are some of my recommendations:
- YouthBro 6-Pack Finger Protection containing two thimble finger protectors and four metal protectors.
- BILI 14 pieces copper and leather thimbles in different shapes and sizes.
- ZMAAGG package with 8 sewing thimbles and a box of 30 sewing needles in different sizes.
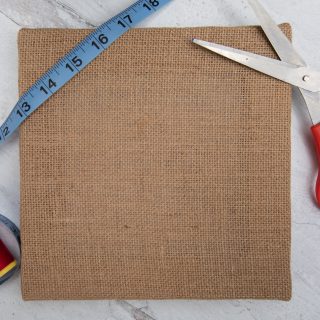
Ruler
The ruler helps you be more accurate while preparing the material for quilting (or sewing). You are good with any type of ruler, but if you could choose, I would recommend an acrylic one of 24 inches in length and some 6 to 8 in width.
While you’re making an Amazon order for other necessary equipment, here are some good quilting rulers at affordable prices:
- Omnigrid ruler is specially designed for quilting, sewing, and other crafting projects. Its dimensions are 6” in width and 24” in length.
- Creative Grids: this one is a bit more narrow, only 2,5”, but the length is appropriate – 24”.
- OLFA: this is another 6×24” ruler with an acrylic surface, ideal for your creative quilting and other craft projects.
Thread
As you may already know, the best type of thread to use for quilting is cotton thread. The coating on a cotton thread makes the thread soft so it’s easier to pass through layers, and it’s more difficult to get it tangled.
Here are some suggestions for cotton threads on Amazon that have worked out just fine for me:
- Simthread: 12-pieces set in neutral colors;
- Gutermann: the huge roller of 876 yards of cotton thread you can purchase in different colors.
- Connecting Threads: a 10-pieces set of cotton threads in different colors.
Scissors
The best type of scissors to use for quilting are small light scissors that are easy to maneuver. Here are my recommendations:
- Karen Kay Buckley micro-serrated scissors for easy fabric cutting.
- BIHRTC heavy-duty highly durable scissors for cutting threads and fabric.
- Mudder 4-pieces set of scissors shaped in different ways ideal for cutting awkward pieces of fabric.
Needles
For hand quilting, it’s only important that the needle is comfortable for you to hold. Of course, you can find a myriad of quilting needles on Amazon:
- John James Gold ‘n’ Glide size 9 quilting needles – 10 pieces.
- Big Eye hand quilting needles size 10, 20 pieces.
- Dritz hand quilting needles in different sizes, 30 pieces package.
- Singer quilting needles of different sizes, 45-piece package.
- ZP Crafts, 28-needle package with different sizes of needles, ideal for quilting and other hand sewing projects.
Marking Tools
For marking you can use any washable tool such as washable markers or pencils you have at home.
The Hoopless Quilting Process
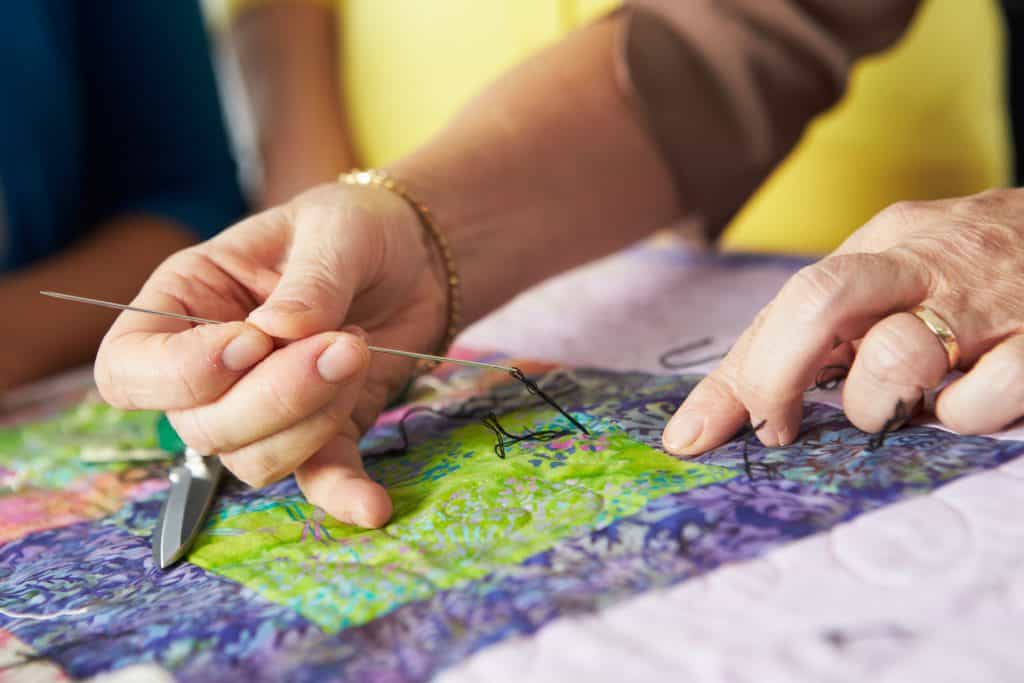
Finally, once you have your equipment aligned, it’s time to start the hoopless hand quilting process. Here’s a step-by-step guide.
- Take the thread and cut a 20” piece.
- Pick the right needle and put the thread into the needle.
- Tie a knot on the end of the thread (on the part that did not go through the needle head).
- Start quilting by pulling the needle with the thread through the backside of the quilt on the spot where you want your quilt to begin.
- The knot should remain tugged on the backside of the fabric. Make sure that it doesn’t show up on the front side.
- Begin to stitch by making small stitches. If you’re still a beginner, it might be easier to start with larger stitches until your master the hand movement, and then slowly stat scaling down the stitch.
- As you stitch, some fabric might go loose, so use your free hand to push it onto the needle from underneath.
- As you stitch, don’t forget to load the stitches so you needn’t pull the thread all the way up. You can load some 3 stitches before pulling the whole thread up.
How Long Does Quilting Without A Hoop Take?
There are several parameters to factor that influence the time necessary to finish a hand quilting project. Fabric size, planned patterns, as well as your skill level all influence the amount of time necessary for you to finish. Smaller quilts may take as little as 12 hours to finish, while larger projects sometimes take months.
Which Stitches Are Good For Hoopless Quilting?
If you’re an experienced quilter, you probably know about various types of stitches you can use for your hand quilting projects. However, if you are a beginner, it’s recommended that you start simple and then expand to some more intricate stitches.
Here are some of the stitches good for hoopless hand quilting projects.
-
Running Stitch
To make a good running stitch, follow the steps given below. This is the perfect stitch for beginners to practice:
- Insert the needle on the backside of the fabric and pinch a small piece of fabric.
- Stitch through the fabric firmly several times.
2. Tunneling Stitch
This is another super-simple type of stitch. It requires you to hold the needle parallel with the fabric to make the stitches even.
3. Quilter’s Knot
This type of stitch requires a bit more effort than the previous two. You can use this one at the beginning or the end of your pattern. Here’s what you need to do:
- Make a triple thread wrap around the needle.
- Pull these hoops down over the yarn to tie a knot;
- Cut any excess thread and start to stitch at the center of your quilt.
- Pull the knot through the material and gear it to the back of the quilt.
4. Rocking Stitch
Out of the four stitches listed in this section, this one is perhaps the most complicated (although also beginner-friendly). Here are the steps you need to take to make a rocking stitch:
- Put one hand on the backside of the material.
- Use your other hand to stitch from the top side.
- The bottom hand should bring the needle back to the front side in a rocking motion.
- Do this four or five times before pulling the thread up.
- The best type of needle to use for this stitch is a thick needle with no crossing or looping thread.
If hoopless quilting isn’t your thing, you can always go back to quilting with a hoop. But maybe you don’t know yet what is a quilting hoop?
What Is A Quilting Hoop?
A hoop is a simple, round, small frame made out of two pieces you can use as a helping tool while quilting. The inside part of the hoop helps you hold the layers together and keep an even tension. It doesn’t let the fabric slide down as you apply different patterns.
The outside of the hoop has a bolt that you can use to make the hoop tighter as you move it from one side of the fabric to another.
Wrapping It Up
Quilting is by far one of my favorite chill-and-relax activities I do to explore and awaken my creativity. The supplies don’t cost much, and most projects require patience and commitment. It’s perfect for rainy and winter days when you wouldn’t want to be outside anyway.
If you’re only starting to practice quilting, maybe it’s best to use a hoop because it helps with accuracy and making even tension. However, for smaller quilting projects, you may want to lose the hoop and practice this by hand. The hoop can become a burden in such cases.
Some time ago, professional quilters didn’t have hoops, they worked with their bare hands. If they could do it, so can you!
You can start practicing on older clothes that you won’t be sorry for if things don’t work out that well.
Last update on 2025-06-30 / Affiliate links / Images from Amazon Product Advertising API