Making hair accessories is one of the smartest ways to begin your sewing journey. These projects are usually extremely easy and simple, require very little supplies, and don’t cost much. Turbans and turban headbands are the perfect examples here. Plus, they’re stylish and can jazz up practically every outfit (yes, including swimsuits). You can sew a turban hat or headband using brand new fabrics or you can make one using a scarf. In this article, you’ll learn how to do both. Let’s get started.
How to Make a Turban Headband
I decided to walk you through the process of sewing a turban headband instead of a turban hat because the former is much easier and quicker. To sew a twisted turban headband, you’ll need stretch knit fabric (one piece of fabric if you want a classic turban headband or two differently colored pieces of fabric for a more fun look), a measuring tape or a ruler, a fabric marker, fabric shears, matching thread, and, of course, a functioning sewing machine. Sewing this item by hand is doable, but be prepared to spend more time on the project if you choose this option.
Once you gather the necessary materials and tools, here’s what you’ll need to do:
Step #1: Measure the Circumference of Your Head
To be able to sew a well-fitting turban headband, you need to measure your head circumference. First, you need to remove your bun, ponytail, braids, or any other hairstyle that might affect the measurements by adding bulk to your head. The same goes for hair accessories and adornments. Then, take a non-stretchable, flexible plastic measuring tape and wrap it around your head to take the necessary measurement.
Another good option is to use a non-stretchy string. You need to wrap the string around your head, mark the place where your head is encircled by the string, lay it on your work surface, and measure the distance between the end of the string (the one you started the wrapping with) and the mark you made.
Step #2: Get the Fabric Ready
Now it’s time to prepare the fabric of your choice for cutting and sewing. To do that, you need to launder and iron it carefully. The washing part will eliminate the risk of shrinkage or any other deformations, while the ironing part will reduce the appearance of curls and make the next steps of the process much easier.
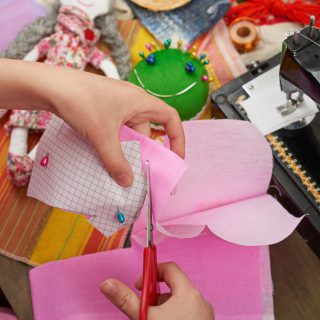
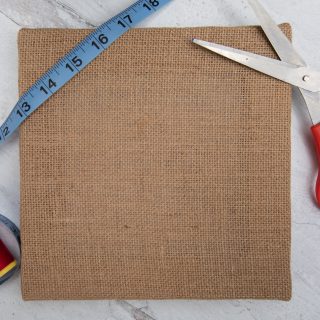
Step #3: Cut the Fabric
Since you’ve measured your head circumference and prepared your fabric for work, you’re ready to cut. Start by laying the fabric flat, making sure the short edges are on the sides. Then, grab your fabric marker and ruler and draw a rectangle on each piece of fabric (if you’ve chosen two different colors or patterns). The width should be 5 inches, while the length should be your head circumference. Lastly, get a pair of sharp scissors and cut out the rectangles.
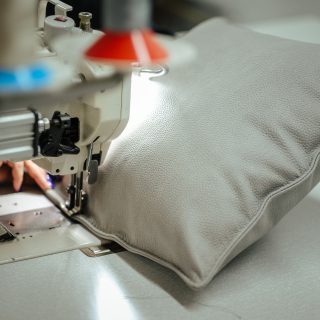
Step #4: Sew the Two Pieces of Fabric
First, fold the two pieces of fabric you just cut in half lengthwise and pin them in place, making sure the edges are aligned. Then, get behind your regular sewing machine or serger and stitch across the open long edges (the ones that aren’t connected). If you do this with a standard sewing machine, apply a zigzag stitch. The seam allowance should be a quarter of an inch. The drill is the same for the other piece of fabric.
Step #5: Turn the Stitched Pieces Inside Out
To be able to complete the project, you’ll need to flip the two stitched pieces of fabric inside out. You can do this with the help of a tube turner like Dritz’s Quick Turn Fabric Tube Turner or a safety pin. Since these pieces of fabric are relatively long, pulling a safety pin through them can be quite tricky and time-consuming, which is why I strongly suggest getting your hands on a nice tube turner.
Step #6: Stitch to Finish the Item
One more stitching session and you’re done! First, prepare the fabric pieces for sewing by placing one of them on top of the other so they form an X. Be sure the stitch lines are facing each other. After that, pull one of the ends of the piece on the bottom towards the other end and connect the short edges. Then, pin or clip them in place. Repeat this with the piece of fabric on top. Lastly, join all four ends and secure them with a pin or clip.
It’s now time to use your sewing machine again and stitch the edges you just brought together. You obviously need to sew all four layers of fabric here. If you went with two differently colored pieces of fabrics, you might want to match the top and bobbin thread with the respective fabric piece. Use a ¼-inch seam allowance here, too.
Lastly, flip the twisted turban headband right side out so the raw edge touches your head when you wear the accessory. And that’s pretty much it! Congrats!
How to Make a Turban Hat Using a Scarf
Sewing a turban headband is enjoyable, but it’s also a bit time-consuming. Although making a turban hat from a scarf isn’t technically a sewing project (it doesn’t involve any stitching), it’s a great way to add this popular hair accessory to your wardrobe, especially if you’re not sure whether turbans are your thing yet. Read on to find out how to make a scarf turban hat.
Step #1: Tie Your Hair Up
Remove any knots and tangles in your hair and secure it in a low bun or ponytail with the help of hair clips or a hair tie. Why a low hairstyle? So you can easily fit the turban hat around your hair.
Step #2: Fold the Scarf Into a Triangle
Create a triangle out of the square scarf you’ve chosen by laying it flat on your worktop and bringing together two opposite corners. A walk in the park, right?
Step #3: Lay the Scarf on Your Head
Bow your head a little bit and put the scarf on it, making sure the center point is against your forehead and the sides of the triangle hang down your shoulders. This is when you need to check to see if the scarf you picked covers most of your hair. If it doesn’t, you’ll need to choose another, larger scarf and repeat steps 2 and 3.
Step #4: Create a Knot
Grab the length of each side of the triangle and move them to the top of the turban. Then, twist them twice to make a firm knot. Keep in mind that the center point should still be by your forehead.
Step #5: Join the Sides at the Base of Your Head
It’s now time to bring the two sides of the triangle around the respective side of your head and tie them into a firm knot at the back of your head. This means that your scarf turban hat will feature two knots: one at the front and one at the base of your head.
Step #6: Start Tucking
To complete the project, you’ll need to fold the piece hanging over your forehead over the knot at the front and tuck in all the other loose ends. This will make the turban hat tighter and more secure.
Wrapping It Up
Turbans and turban-style headbands are some of the hottest hair accessories right now (even babies wear them!). Learning how to make them can save you money and give you the chance to create unique hair pieces for yourself and your loved ones. Turbans can also be a great introductory sewing project as they don’t require much fabric and are incredibly easy to make.
If you’re totally new to sewing and/or aren’t confident in your skills yet, you can use old t-shirts to practice sewing turban headbands. Don’t beat yourself up if your first few tries aren’t perfect. You’ll get there sooner than you might think! Good luck and have fun!
Last update on 2025-06-30 / Affiliate links / Images from Amazon Product Advertising API