Many people prefer drying their freshly washed clothes outside compared to using a drying machine or drying the laundry indoors. And there is a good reason for that – drying laundry indoors creates humidity in your living space, which is not the healthiest thing you can do. At the same time, drying machines are very non-eco-friendly and expensive for your electricity bill, as they waste an enormous amount of energy.
On the other hand, drying your clothes outdoors saves energy and keeps your clothes fresh.
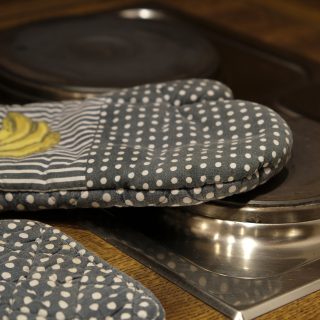
However, in colder months, you may want to protect your clothes using a clothesline bag. These bags are super-easy to DIY, and you can use many of the scrap fabrics from your older projects.
Also, if you’re not very skilled at sewing yet, that’s still okay because clothesline bags require no more than minimum sewing skills. By combining a few different fabrics, you can make a beautiful, customized clothesline bag to fit almost any taste.
A clothesline bag is a good option also as a practical gift for a friend or family member (housewarming, b-day, or random surprise gift). It’s practical also because it takes less than one hour to complete.
What Do I Need to Make a Clothesline Bag?
Making a clothesline bag requires only basic equipment. This is a good occasion to check your basic sewing kit – do you have all the items on the list? If not, click on the embedded links and refresh your sewing kit!
Clothesline Bag Tools
- Rotary cutter (yes, you can also use scissors or scalpel, but I would strongly recommend a rotary cutter for the easiness and precision of working with it).
- Ruler and/or measuring tape.
- Cutting mat (you will find this useful for many of your sewing projects).
- Pins and needles (you can never have too many of these…)
- Sharp pair of scissors.
- A sewing machine.
- Iron and ironing board.
Clothesline Bag Materials
- ¼, ½, or 1 yard of cotton fabric (depending on how big your want your bag to be). You will use this for the outer part of the bag.
- ¼, ½, or 1 yard of cotton fabric for the lining. For both, fabric scraps that you may or may not connect together can also serve this purpose.
- A hanger for skirts.
- Thread.
How to Make a Clothesline Bag Step-By-Step Guide
If you’ve checked all the items from the list, it’s time for action. Let’s see what you need to do to make your perfect clothesline bag!
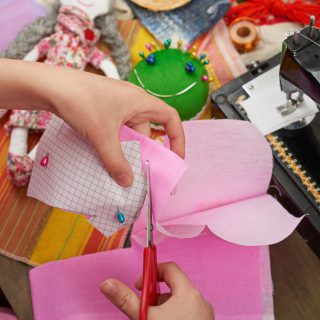
Cut the Pieces
For the easier making of a clothespin bag, I strongly recommend using a sewing pattern. I get most of my patterns from tipnut.com. I love their patterns because they are easy to use, have detailed explanations on how to work with them, and are kind of retro-looking.
When you pick your clothesline bag pattern, print it in full size. Verify it by using a ruler on a 1-inch square. If you’ve missed it by very little, it will still work; however, the pattern that is more than ⅛ of an inch off very likely won’t work out very well, and you should print a new one.
To make pieces for the outer part and the lining, you need to fold the fabric half over the long side. Then use the pins to attach the fabric to the pattern with a long straight edge.
Now take the sharp pair of scissors and cut the fabric along the pattern line. When you finish, you will have the bag’s top opening done.
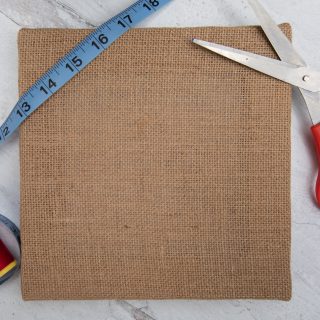
The next step is to use a rotary cutter and a ruler to cut the outer and lining pieces.
First, measure the length of your hanger. Whatever is its length, add 2 inches, and that will be the width of your clothesline bag.
Now, multiply the length from the previous step by two. This is now the height of your clothespin bag. E.g., if the hanger was 10 inches long, you have added 2 inches and got 12 inches as your clothesline bag width, and you multiplied it by 2 to get the height, which would be precisely 24 inches.
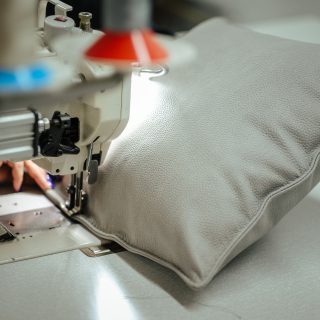
Sew the Pieces Together
After preparing and cutting your fabric pieces, it’s time to sew them together. First, place them on top of each other with the right sides facing together. Then, retake your pins and put them at the edges.
Now, use your sewing machine to sew around the entire pattern shape. Do not close the seam. Leave around a 4-inch big opening on the long side (any of the two) but near the short bottom side of the fabric. Finally, backstitch the end and the beginning of the seam with a ¼ of an inch seam allowance.
Take the scissors and cut the corners of the fabric. Also, clip the curved edges to make them smoother and reduce bulk.
Then, turn the right side of the fabric out. Poke the corners to get them back into the shape.
Use your palms to press the seam allowance around the opening area so the seam becomes even everywhere.
Arranging the Fabrics and Topstitching the Edges
Make a topstitch on the seam some ⅛ of an inch from the edge of the fabric. Then, fold the bag in half, matching the wrong sides of the fabric together.
Use the pins and connect the sides over the top edge. Next, use your sewing machine to sew the sides along the same edge. Keep sewing at least ⅛ of an inch from the edge.
This should properly arrange your bag, give your edges a nice final look, and close your bag opening.
Finishing Touches
Take the skirt hanger and place it inside the bag. You’ll know it’s good if it fits the bag comfortably at the top, leaving a bit of spare space.
Voila – you have a clothesline bag. Keep in mind that you can use this kind of bag for all sorts of activities: keeping bathroom accessories, like a grocery bag, toy storage, etc.
Final Word
Clothesline bags are super-practical and handy to have in any household. They are straightforward to make – all you need are some basic supplies, elementary sewing skills, and working materials. The procedure of sewing it is very simple, so you can expect it to be done in an hour.
I hope you enjoyed this little tutorial on making a clothesline bag. Enjoy practicing and working on your sewing project.