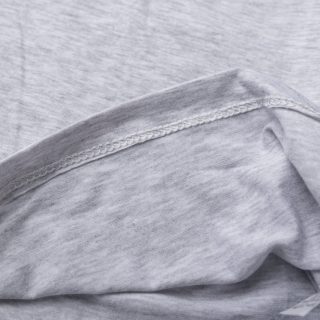
You have a sturdy sweatshirt that you have worn for a decade, but now you are bored with its humble design and you want to embroider it to make it less profane, yet you only have a standard sewing machine for the job and you are wondering if you can embroider with a sewing machine. That’s an empathizable scenario, and the answer is yes – yes, you can embroider with a sewing machine.
Yes, but that would be like making a fire in your backyard, putting a pan over the hearth you built with hand-picked stones around the fire, and trying to stew whole beans on that fire while there is a perfectly functional gas stove and pressure cooker in your kitchen.
Do I know how to make embroidery with a sewing machine and will I guide you through that, nonetheless? The answer is again yes, but not before urging you to consider purchasing an all-around embroidery machine specifically designed for embroidery without sweating yourself over your sweatshirt for hours in front of a sewing machine.
Still, you might be an eccentric, you might have all the time in the world on your hands, or you might think expenditure on an embroidery machine is a luxury you cannot possibly afford. If so, let’s go and embroider with a sewing machine.
Materials You Need for Embroidering with a Sewing Machine
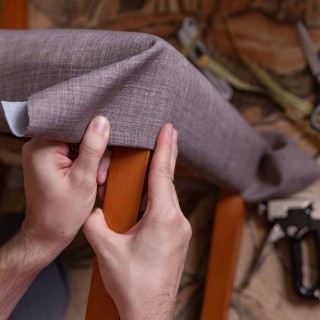
To do any kind of embroidery, the first thing you need is a design. It can be just a simple word like “gossamer” or “tintinnabulation” (the latter might be the natural preference of Edgar Allen Poe fans second only to “nevermore”) or it can be a complicated pattern that is not only visually pleasing but also uniquely self-expressive like the Batman logo. This design should be printed on paper, and the paper should be carefully attached on the location you want your embroidery to go with pins.
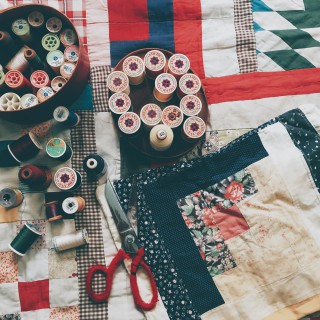
It might be needless to say because anyone can see why it’s a must, but saying it doesn’t hurt either: have ample thread in the colors of your design ready.
Another prerequisite of embroidery projects is a fabric stabilizer. There are a couple of types of fabric stabilizers – ones that you can put behind the fabric or attach on the fabric, but my recommendation would be water-soluble or liquid stabilizer options. Terial Magic is one of the liquid ones, and it’s the latest sensation in my embroidery arsenal. If you are used to traditional stabilizers and don’t know how to use a spray one, you don’t need to worry because its bottle features instructions.
Although it’s not a must, having an embroidery hoop might help keep the fabric and the sewing needle in line while stitching. What would happen if you don’t have one? Nothing – maybe one or two small mistakes, and that’s all.
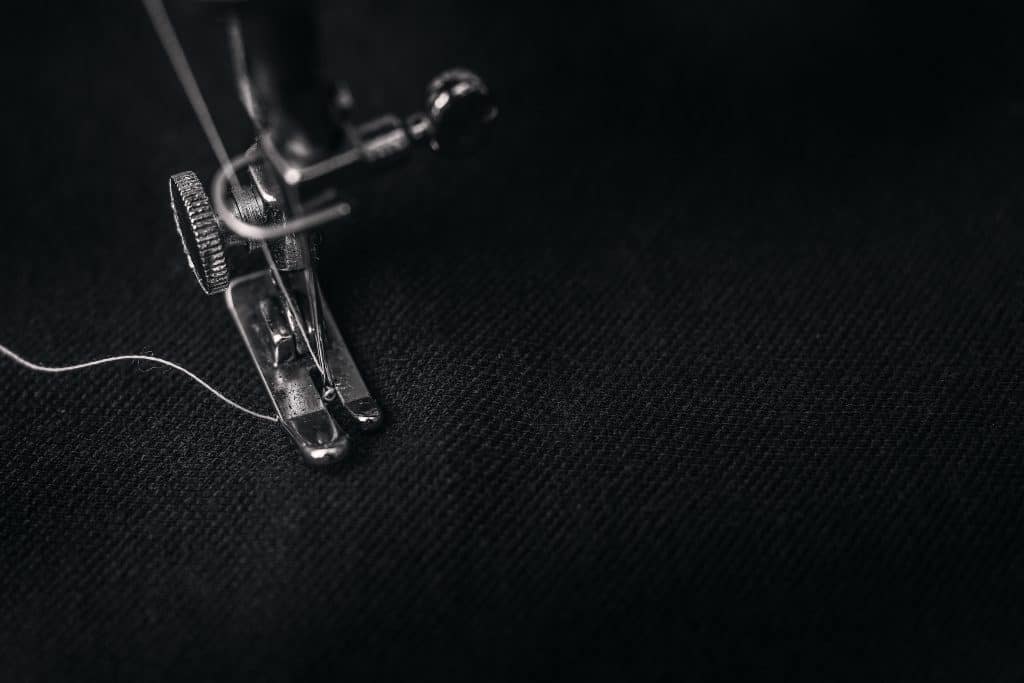
Purchasing a quilt foot for your sewing machine or using one if there is any is also not strictly necessary but it might prove useful. They are specifically designed for those who’d quilt or embroider with their sewing machines as they provide more visual clarity for what you’re stitching and minimize contact thus preventing the fabric from moving without your input. While you are at it, you can also purchase embroidery needles.
To have embroidery scissors ready at hand might help you immensely when the time comes for the loose pieces of thread to be trimmed. I’d recommend for this particular job, as they are made of high-quality stainless steel and as they look too fabulous considering they are only a pair of scissors.
How to Embroider with a Sewing Machine: A Step-by-Step Guide
Normally, I start these guides with a step that asks you to prepare your tools, but I believe I have already covered that above by giving enough tips on how to use these tools. Therefore, I am going to assume that now you know how to affix your design onto your fabric, and how to use an embroidery hoop to keep everything tidy. I am also guessing that you have already replaced the existing foot of your sewing machine with a quilt foot if you got one. Then, there is so little to do for both you and me now, and let’s get to it.
Step 1: Prepare Your Sewing Machine for Embroidering
Although some sewing machines do not provide you with the option of lowering the feed dogs, a majority of them will. You should use that option because there should be no contact between the feed dogs and the fabric while doing embroidery. If there is no such feature on your machine, then put a plate between the feed dogs and the fabric to keep them at bay.
Step 2: Practice on an Expendable Piece of Fabric
Practicing on a separate piece of fabric that you have no use for otherwise is not only an exercise for bettering yourself although it will do that, but also a way to test your sewing machine and see if you should change any settings for the length and width of the stitches when it’s on straight stitch which you are going to use for stitching the lines in your design. The thread for the insides of your design will be stitched with a zig zag stitch. You should test that as well.
Mind that embroidering with a sewing machine is an arduous task despite the simplicity of instructions, so at first, there is a big chance that you are going to get it wrong, but be reminded that there is nothing wrong with getting it wrong – actually, if you are not getting it wrong on your first couple of exercises on an expendable fabric, then you might start questioning whether it’s a dream, or you are tripping, or both (you might be a genius as well, and this guide will be no use to you).
Step 3: Start Embroidering the Actual Fabric
Once you tested the machine, learned what length and width numbers to use for both straight and zig zag stitches and once you are convinced that you are more than capable of pulling it off on the actual piece of fabric you want to embroider, you can kick off the actual embroidery process.
Put the hoop over the fabric and below the presser foot of your machine and start stitching the lines of your design using straight stitch. Then, trim the extra thread using the embroidery scissors and move on to fill the insides of your design with zig zag stitch.
Let me warn you that the instructions for this part might seem and sound straightforward and they actually are, but they are just instructions. The process itself requires utmost care as if you are handling uranium and it will not be good for your eyes to keep focusing on every stitch. Also, it’ll take a lot of your time.
Step 4: Iron the Embroidery
It’s like I have this step for almost every project I have a guide for on this website, yet I haven’t yet written a template which I can copy-paste for every new post, but here we are again: iron it. Press the embroidery with steam from the back of the fabric.
And congratulations! You have embroidered with your sewing machine. There was no need to do that, but you still went on and did it! Welcome to my world!
Final Words
After guiding you through all this tedium, I didn’t have a change of mind and still think that using a sewing machine for embroidery when there are all these great options for a top class embroidery machine is a waste of time. Embroidery machines might be luxurious items in terms of their prices, but when it comes to saving time and providing the embroiderer with creative liberty and ease, other options will never even come close to them.
Still, if you have time, if you want to get completely lost in the sounds of a sewing machine and not to hear your doorbell or phone ringing, if you want to have some me-time even though it’s, let’s admit it, low-quality, you can try embroidering with your sewing machine.
Last update on 2025-07-12 / Affiliate links / Images from Amazon Product Advertising API