When you first sit behind your new Brother sewing machine, you might find yourself confused & frustrated by its threading process.
Threading a Brother sewing machine may seem like a difficult process until you get the hang of it. This applies especially for Brother’s products that offer double-threading with an automatic needle threader.
I am sure that you first referred to the user manual. After all, you would expect that the manufacturer would have the best presentation on how to thread their machine, right? Not necessarily. When I attempted to figure out how to thread my Brother by looking at the manual, I got increasingly confused at every step of the process.
That’s why I decided to write this article. I don’t want you to waste hours of your time figuring out how this is done.
Step 1: Threading the Upper Thread
First, make sure that the machine is off by unplugging it from the wall! You don’t want to accidentally push the pedal and put a needle and a thread through your fingers!
Pick up your spool of thread and place it on the thread holder. Find the end of the thread and pull it towards the thread guide on top of the machine.
There is usually a graphical presentation of where the thread should go. On most models, you need to put it under the U-shaped thread guide, and then pull the thread across the machine.
The thread then goes inside the slit that is directly across the guide. Make sure you leave enough thread to do this, otherwise you might need to start all over again.
After passing through the slit, the thread goes back up in the neighboring slit. Inside this slit, there should be a claw-like object that is called a take-up lever. The trick here is to stay in this slit while going around the take-up lever, and then pulling the thread down.
Step 2: Threading the Head and Needle
After pulling the thread from the second slit, pull it a little bit so that you have room to wiggle. Take the end piece and make sure it is not frayed. If it is, take your trusty scissors and cut the frayed part off. You can also try wetting the thread, to make it easier to thread the needle..
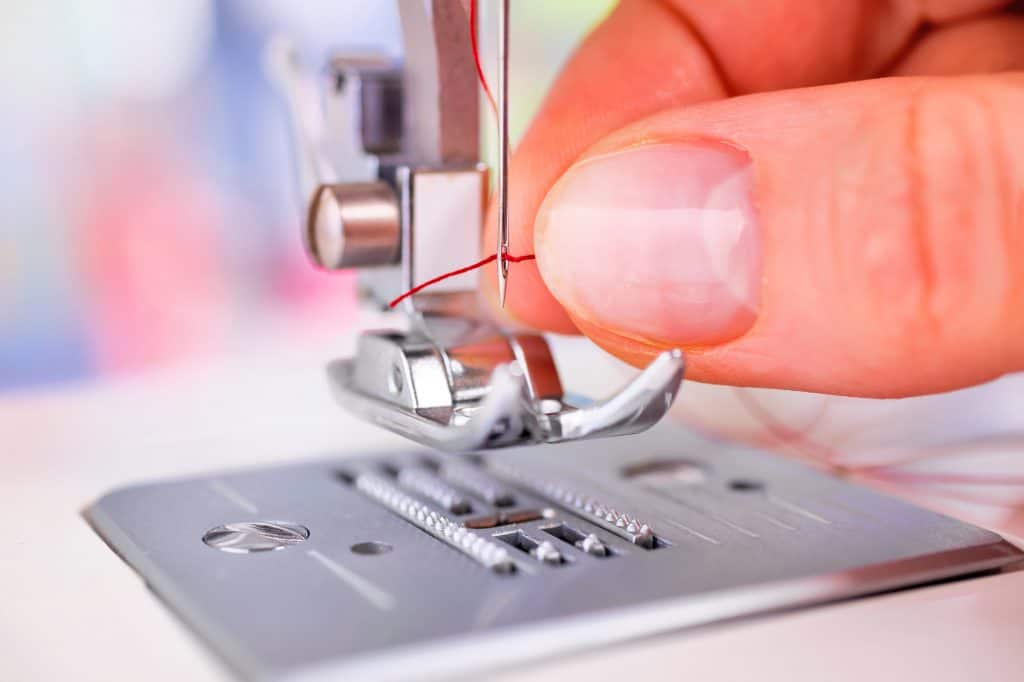
Now, take the end of the thread between your thumb and finger, put it through the eye of the needle, and pull it through. You can now see why having a tight end is important, as otherwise your thread just won’t go through the eye.
Pull out a little bit from your thread, about 3 inches (7 cm). Afterwards, put the thread through the slit in the clip that is neighboring the needle. Pull the thread behind, i.e. towards the outside of the machine. Tug a bit to make sure the thread is not loose.
Step 3: Install and Thread Your Bobbin
(Note: this applies for Brother machines that have their bobbin in a pocket near the head & needle. If your bobbin is on top of the machine, the procedure is different.)
Take your bobbin and pull a little bit of thread out, about 3” (7cm), and then install the bobbin inside the pocket. The thread should go towards the left edge of the machine i.e. towards your left-hand side.
There is a slit right next to the bobbin that takes the thread and guides it in the opposite direction, towards the left side of the machine. Put your thread through the slit and pull it towards the next slit on the left.
You’ll notice there is a peculiar scythe-slanted slit just on the left of the bobbin pocket. The thread should go inside it. Leave a bit of an end outside of it, though.
Now, close the door, shutting the bobbin inside. Congratulations, you’ve threaded the bobbin.
Step 4: Double Thread
The bobbin thread is not inside, and you can’t pull it out by hand because of the pocket. How do you do that double thread, then?
Luckily, the machine is capable of doing this by itself, but you’ll still have to prepare the thread for it.
Turn the manual stitching knob on the end of the machine and start rotating away from you, the same direction it turns when you are sewing with the machine.
While you rotate it gently, you’ll notice the needle going down, picking the bobbin thread, and returning back up again.
Your bobbin thread should be peeking out from under the needle clip, typically in a loop shape. Take a pin, pencil, pen or scissors and pull the loop out a little bit more.
Well done! You’ve double-threaded your Brother machine.
The End: Start Sewing!
This is the end. Hopefully by now, you now know how to thread a Brother sewing machine.
If you did all the above steps correctly, you should be looking at a double-threaded Brother machine that is ready for sewing. You can test this out on a spare scrap of fabric.
Remember that while you are trying to thread the machine, the thread should have some give. This means that if you pull the thread by hand, the thread cylinder and the bobbin will rotate and allow you to pull out a bit of thread.
If you happen to notice anything tight or stuck, it means you made a mistake somewhere. It’s best to go back and start over, since it is quite difficult to determine where the problem may have occurred.


