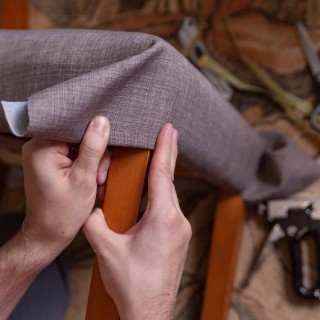
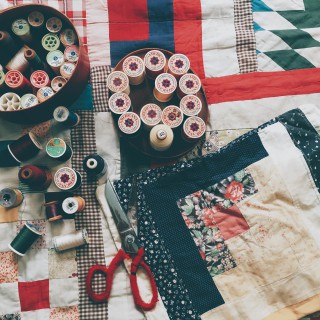
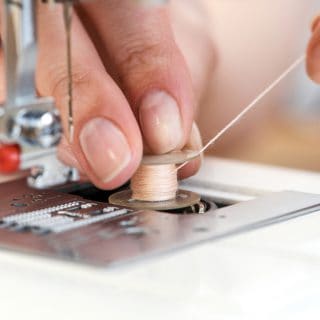
I don’t know about you, but I believe sewing should be taught in elementary school. Aside from being relaxing and therapeutic (yes, research suggests needlework helps combat stress and anxiety), sewing is also extremely useful. Being able to repair your own clothes can help you rock your favorite pieces for a few more years and save hundreds of dollars. It will also enable you to upcycle many clothing items and avoid adding to the growing piles of waste at our landfill sites.
But what if you’re new to sewing and want to start small? Don’t worry—there are countless easy and quick sewing projects that can help you hone this hugely underrated life skill. You can start by making a simple drawstring bag, knit headbands for yourself and/or your daughter, a sunglass case, or other easy things to sew. I’ve put together a list of 5 simple sewing projects that can be completed in 60 minutes or less to help you get inspired and start right away.
1. Knit Headband (Kid-Friendly)
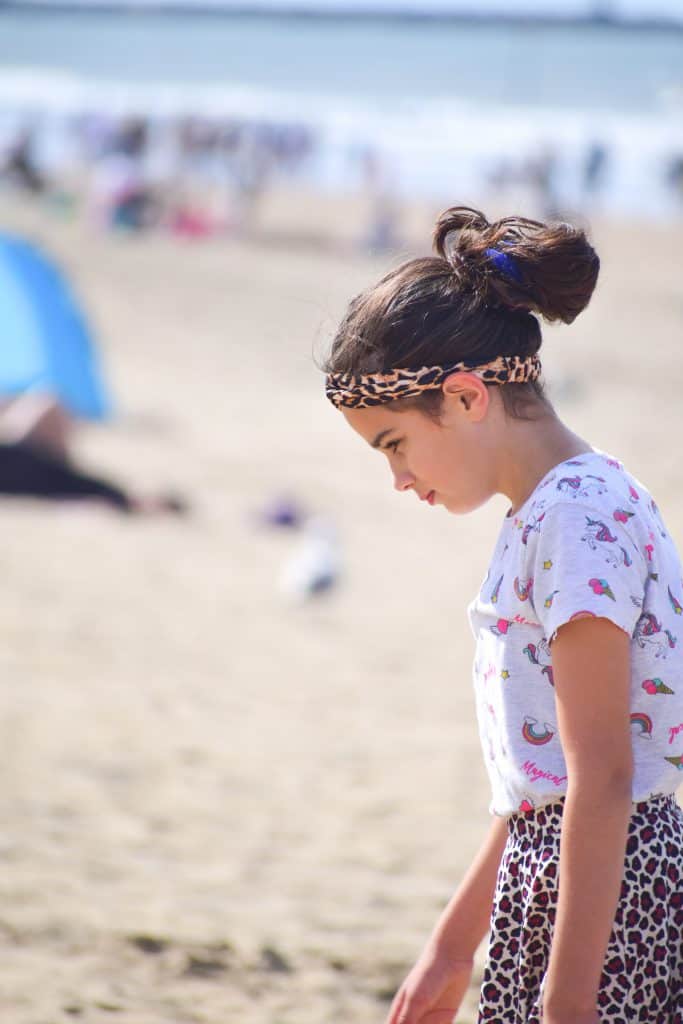
This novice-friendly sewing project requires just a few supplies: knit fabric scraps or some old t-shirts, a measuring tape, sewing tools, and a sewing machine. When choosing knit fabrics for this extremely quick project, it’s best to go with cotton spandex jersey or any other knit fabric with good stretch and recovery. If your kid wants to learn how to sew, this may be the perfect way to introduce them to the intricate world of needlework.
Step 1: Measure your head (or your child’s)
Use a measuring tape to measure your head from the base of your skull up around the top of your head. Increase the length by 4 inches.
Step 2: Cut a rectangle
Use the above-mentioned measurement as the length of the fabric cut. Make the rectangle around 4 inches wide.
Step 3: Fold the fabric
Fold the fabric in half lengthwise and then pin it in place. Make sure the sides are aligned. If you decide to use fabric scraps, you’ll need to sew the short edges together before folding the headband. Do this with a zigzag stitch.
Step 4: Sew
Begin at the corner and continue out to the edge. Keep a straight line. Make sure to backstitch in the middle and leave a 2-inch hole. Backstitch and sew to the other side as well. Next, cut off the corners and turn the headband right side out with the help of a point turner. Finally, pin and topstitch the hole closed using a complementary thread. Make sure the seam allowance (the area between the edges and the line of stitches) is inside.
2. Cotton Drawstring Bag
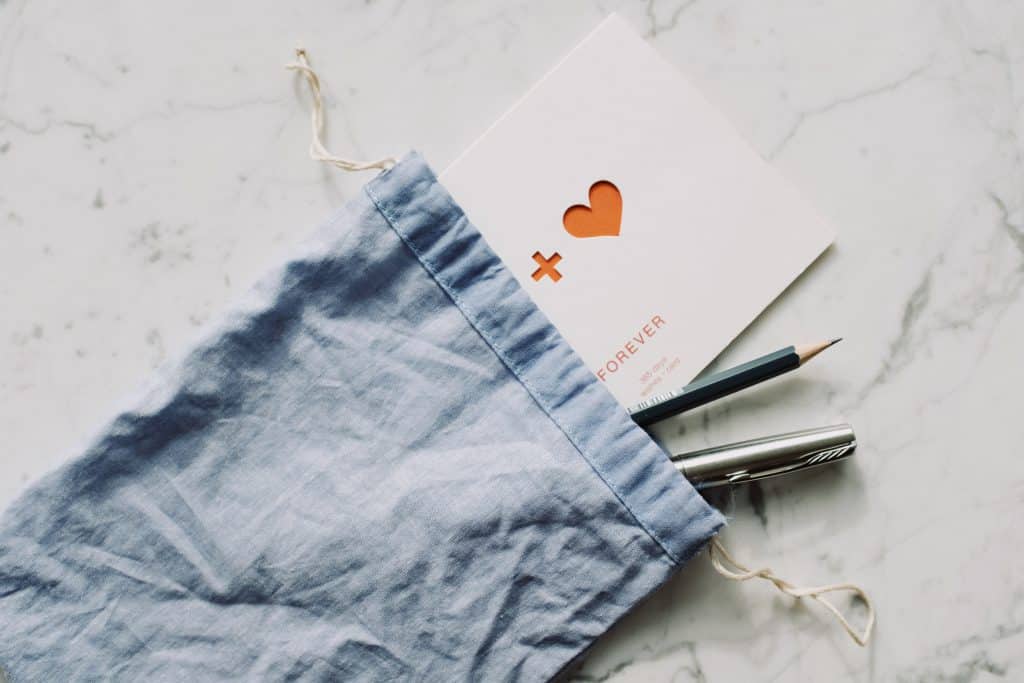
Drawstring bags are such versatile accessories. You can use one to stash away your wallet, phone, keys, and other personal belongings when traveling or replace single-use paper gift bags. Drawstring bags are also great for storing cosmetic products.
For this project, the two main supplies you’ll need are cotton fabric and cording. Get 2 fat quarters of cotton fabric and 2 yards of cotton cording.
Step 1: Make two fabric cuts
Start by cutting two 10-1/2×8-inch rectangles and one 6-and-a-half-inch-diameter circle from each of the cotton fabric quarters.
Step 2: Form the bag
Make a tube by sewing together the short ends of two matching rectangles and then sew a corresponding circle to the bottom edge. Repeat that with the other two rectangles and the second circle, but be sure to leave a 3-inch hole in one seam. This set is actually the bag’s lining.
Step 3: Insert the cording
To thread the cording, you’ll first need to turn the bag right side out, insert the bag into the lining, sew around the upper edges (aim for a quarter-inch seam allowance), turn the right side through the hole, and then sew the hole closed. Next, press the top edge with an iron and make a casing by sewing ¾ inch and 1 ¾ inches from the edge. Lastly, thread two 1-yard cotton cords through the casing and knot their ends before gathering the fabric.
3. Minimalist Toddler Bib

Has your little one started discovering the wonderful tastes and smells of fruits and veggies? If yes, you should definitely add this simple-to-make toddler bib to your list as their curiosity will often result in a cute little mess. To complete this sewing project, you’ll need some crib sheets (t-shirts can do the trick as well), fusible interfacing scraps, and snaps. That’s it!
Here’s the step-by-step guide:
Step 1: Print a pattern
Print a spit bib pattern and use it to cut out 4 layers of knit fabric. You can easily find free printable patterns online. Take a look at this one.
Step 2: Cut squares of interfacing
Cut ½-inch squares of interfacing on each side and fuse them to the wrong side of every layer. Then, layer the pieces, align the edges, and pin them together.
Step 3: Stitch the layers together
Stitch through all 4 layers of knit fabric using a long and narrow zigzag stitch. This will make the bib extra-durable and resistant to tugging.
Step 4: Attach the snaps
The snaps are the last piece of this puzzle. Just follow the manufacturer’s instructions on how to attach them or use a snap fastener.
4. Fun Felt Corner Bookmark (Kid-Friendly)

Looking for an easy yet fun sewing project for your kid? This one might be the ideal choice. The best part is that it doesn’t involve a sewing machine, so you don’t have to worry about your little one’s safety. However, it’s smart to keep an eye on them throughout the project or actively participate in it.
You’ll need a few sheets of felt, an embroidery thread, a large sewing needle, and scissors. Choose bright colors to make the process much more enjoyable for your child.
Here are the steps you and your kid need to follow:
Step 1: Cut the cloth
Cut two triangles (or other fun shapes) in the felt. Make sure they are of the same size. If you want to sew up a corner bookmark for a particular book, use it as a reference for the size of the cuts.
Step 2: Sew the pieces together
You’ll need to use a long piece of embroidery thread in this stage of the process. Guide your kid to sew the two felt cuts together starting at the top corner and going down along the edge. To create a corner pocket, you need to sew up one more side.
Step 3: Unleash your creative monster
This step is all about expressing yourself and adding personal touches. Decorate the bookmark with unique buttons, colorful gemstones, glitter, embroidery stitches (your favorite animals or perhaps your initials), or anything else that screams your (or your child’s) name and character.
5. Playful Sunglasses Case
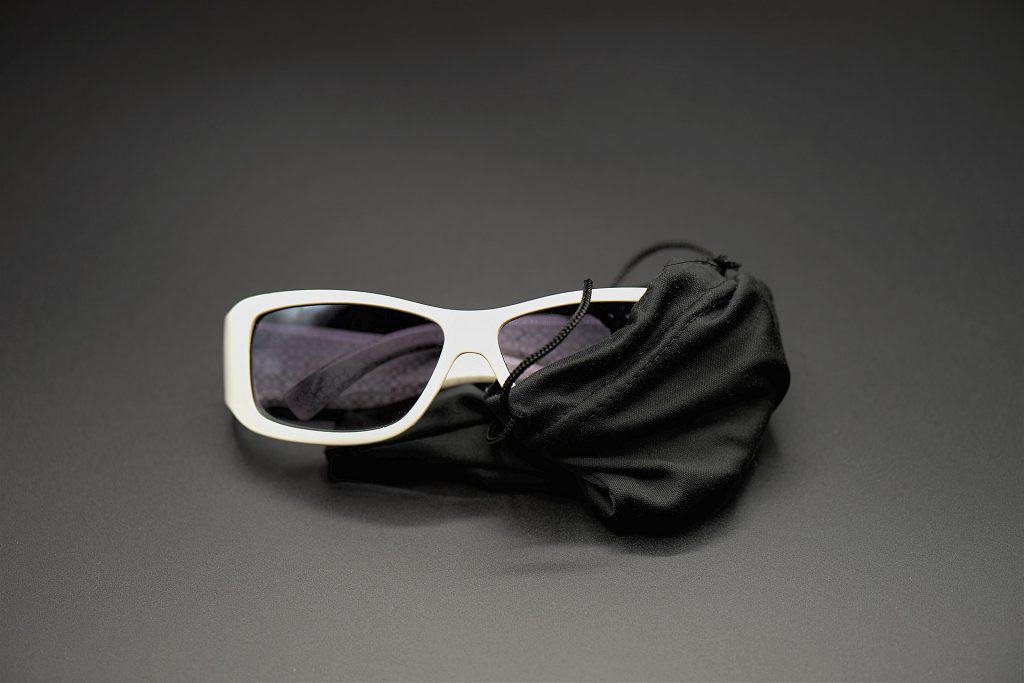
Bringing along a pair of sunglasses is always a smart idea—you can never know for sure when the sun will make an appearance. You can practice your sewing skills by making yourself (and maybe your loved ones) a fun sunglasses case. To sew one up, you’ll need a colorful main fabric, a lining fabric, and a matching thread. When looking for fabrics, keep in mind that the case needs to protect your shades without damaging them. That’s why it’s best to opt for a soft fabric like cotton or flannel.
Step 1: Cut two rectangles
To create a nice fit for your sunglasses, cut a 7 ½ x 7-inch rectangular in both the main and the lining fabric.
Step 2: Sew
Using a quarter-inch seam allowance, sew a straight line across one of the shorter sides with the right sides aligned.
Step 3: Mark an opening
First, open the case and fold it RST (right sides together) lengthwise. Then, align the long sides of the fabrics and pin them in place. Lastly, mark a ⅔-inch hole in the lining fabric’s long side.
Step 4: Stitch the layers together
Sew across one of the short edges, turn the corner, and continue stitching. Don’t ignore the opening marking you’ve made in the previous step – you need to leave a hole in the lining fabric so you can turn the case later. For a clean look, make sure to trim the corners.
Step 5: Turn, press, close
Now’s the time to turn the case through the hole you’ve left (right side out, of course) and press it. Then, you should pin the hole and (hand-)stitch a straight line across to close it.
Step 6: Tuck and press
The final thing you need to do is push the lining inside the main fabric and press the two layers together. For increased durability, consider topstitching around the top edge of the case.
More Easy Things to Sew
Want to take on a sewing project that’s a bit more challenging than the previous 5 but still beginner-friendly? No worries, I’ve got you covered. Here are 3 amazing options:
Ironing Board Organizer by Flamingo Toes
This is such a beautiful and handy creation, especially for those who are constantly putting their sewing skills to the test. This ironing board organizer features lots of pockets so you can neatly store away all your tools as well as a pincushion. If you’re one of those seamstresses/seamsters who don’t seem to thrive in messy workspaces, this accessory can save the day.
Pillowcase Dress by Positively Splendid
The summer heat can be overwhelming for little children. This is an amazing project for those of you who want to surprise your daughters, granddaughters, nieces, or other special girls in your lives with a light and pretty dress for the extra-hot months of the year. Plus, it doesn’t require much fabric, which makes it budget-friendly, too.
Reading Pillow by Polkadot Chair
Last but not least, Polkadot Chair’s reading pillow is such a fun little project. Since it doesn’t involve any zippers or special techniques, practically anyone can sew it up (yes, even your child!). You can bring this pillow along when picnicking and enjoy a nice and comfy reading session under your favorite tree in the park. Visit the link above to find out what you need for this DIY project and prepare for your next shopping trip.
Final Thoughts
Let me end this article by reminding you that you don’t have to be a pro or monetize your creations to do the things you love. You can practice your sewing skills as often and as long as you need to. Embrace the learning process and cherish each and every one of your projects. Oh, and have heaps of fun!