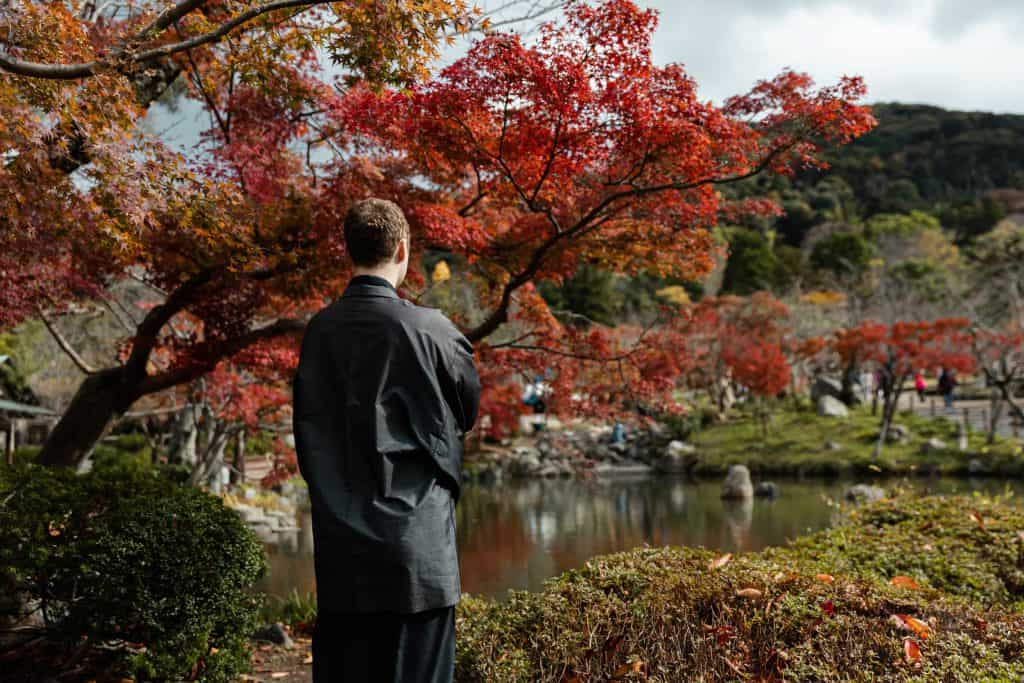
I am a fan of the golden age of the Japanese cinema, and the way kimonos are carried by the people who wear them in these movies never ceases to amaze me. Whether it’s just a woman ascending the stairs, a ronin who leaves a trail of blood in the Japanese countryside to keep a child safe, or an old couple shot only by a camera that never leaves the ground, I think there is more to the kimonos than being just a traditional piece of clothing that’s posed as a binary opposition to modernity or contemporariness.
However, I know that I wouldn’t be able to carry it as gracefully as the people in those movies do if I ever get the opportunity to wear one. That opportunity isn’t easy to come by either, as traditional Japanese kimonos are quite expensive.
Of course, the leaders of the mainstream fashion industry are aware of this fact as well, and they filled the market with their own brands of kimono cardigans which are easier to carry around than traditional kimonos. That’s not their only merit, though. Those kimono cardigans are as versatile as a piece of clothing could get: they might be employed as a jacket over t-shirts or shirts, they might be worn directly over a naked body like a dress with a pin pulling its sides together, and they might even give a novel touch to your nights as a piece of lingerie.
What more would you like from a piece of clothing? Well, maybe a bit of uniqueness? A trait of customizability? The freedom of expression that comes from a DIY project? Are you saying yes? Then, you are in the right place because I am going to provide you with the very guide for that. Let’s get to it!
How to Make a Kimono: A Step-by-Step Guide
Step 1: Draw or Find a Pattern
If you have experience with drawing patterns for sewing projects and if you know what you want your kimono cardigan to look like, then drawing a pattern should be fun for you. You can choose your size, style, cut, and come up with a completely unique piece of clothing in the end. I have nothing that I can teach you.
If you are inexperienced, on the other hand, you might sweat a lot worrying over how you are going to cut the fabric or whether you are going to be able to get it right. You shouldn’t worry because benevolent craftspeople all over the internet will provide you with what you need: an easy and free pattern for your DIY kimono. It might not be as customizable or unique for your liking, but it’s a good place to start for beginners who are going to be able to draw their own patterns and create their own unprecedented pieces of clothing in no time once they get the hang of it.
You don’t have to proceed with the pattern I linked – you can easily find another one that’ll appeal to you more. When you find one, though, don’t forget to print it as intended and instructed by the creator of the pattern.
Step 2: Prepare Your Sewing Tools and Materials
Let’s get the unambiguous must-haves out of the way first: sewing machine, thread, pins and needles, scissors and/or rotary cutters, and measuring tape.
Fabric that you’ll sew a kimono with might bear a little bit more ambiguity than these because you can’t just go on and sew a kimono with any kind of fabric, can you? I mean, you can, but it wouldn’t feel right – you’d feel… amiss, for the lack of a better word. That’s why you should do proper research about Japanese fabric or take my word and order Telio Kimono Matte Satin Print Blue Fabric by the Yard on Amazon with enough yardage, which is at least one and a half for all sizes of kimonos.
Step 3: Make Measurements
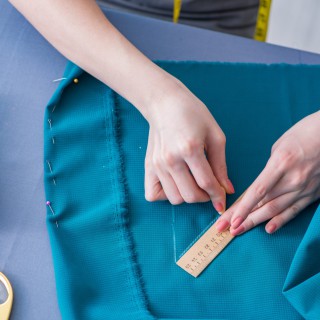
Using the measuring tape, measure your or your subject’s shoulders, breast line, waist, and hips, and adjust the pattern accordingly.
Step 3: Cut the Fabric and Assemble the Pieces
Once you have printed the kimono pattern, adjusted it in accordance with the measurements you took, and assembled it correctly on the Japanese fabric you purchased, you have to cut the fabric. You may iron it either before cutting or after, but if you do it before, you wouldn’t be preventing creases that might occur during cutting. Therefore, I’d prefer and recommend ironing the kimono fabric after cutting.
In general, there will be only three pieces of fabric in the making of your kimono: two symmetrical pieces for the front, which can be cut as one piece and then cut through the middle, and one piece for the back.
I don’t know if anyone will recommend you cut separate pieces for the sleeves, but if that’s the case in the pattern you downloaded, please delete it and find another one. That idea is against the kimono lore – that is a heresy.
The pieces you cut should be assembled together on their right sides with an ample number of affixed pins before getting onto sewing.
Step 4: Start Stitching
You could have thought: “Oh, we are going to sew a kimono, it’s going to be complicated, isn’t it?”, and you might still say that out loud to people you want to avoid socializing with at that moment, but stitching the pieces of a kimono is actually quite easy. We are just going to use a zig zag stitch to sew our pieces together and then move on to hemming edges.
Step 5: Hem the Edges of the Kimono
After completing the fourth step, you should already have a nice and wearable kimono in your hands, but let’s give it a more proper and tidy look by hemming its edges.
By folding the edges of the kimono by half or ⅜ an inch, you’ll be creating the hem. Affix the hem in place using sewing pins and hem it.
If you have questions about hemming or if you are unsure about how to go on with it, you can head on to my guide about how to hem a dress. Hemming a kimono is not so different from hemming a dress after all.
Step 6: Finishing Touches
After you successfully hemmed it, there will not be much left for you to do. You just have to trim the extra thread that might be hanging loose from the hem and iron the kimono for one last time. Then you are free to put it on, go out, and let it ripple in the wind as if to make your neighbors growl under their breaths in jealousy.
Final Words
A traditional Japanese kimono might be an expensive item, and fairly speaking, it’s also hard to carry while doing justice to it in our hectic daily lives in which we wouldn’t really get the opportunity to wear one anyway. However, for sewing and wearing a custom kimono cardigan, you don’t need to grieve for your samurai husband who’s been imprisoned by a tyrannical bailiff.
If you sew one following my guide, you’ll see how useful this versatile variation on a liberally appropriated cultural piece of clothing actually is and how it can elevate you in terms of fashionable choices. You’ll thank me later.
Last update on 2025-07-15 / Affiliate links / Images from Amazon Product Advertising API


