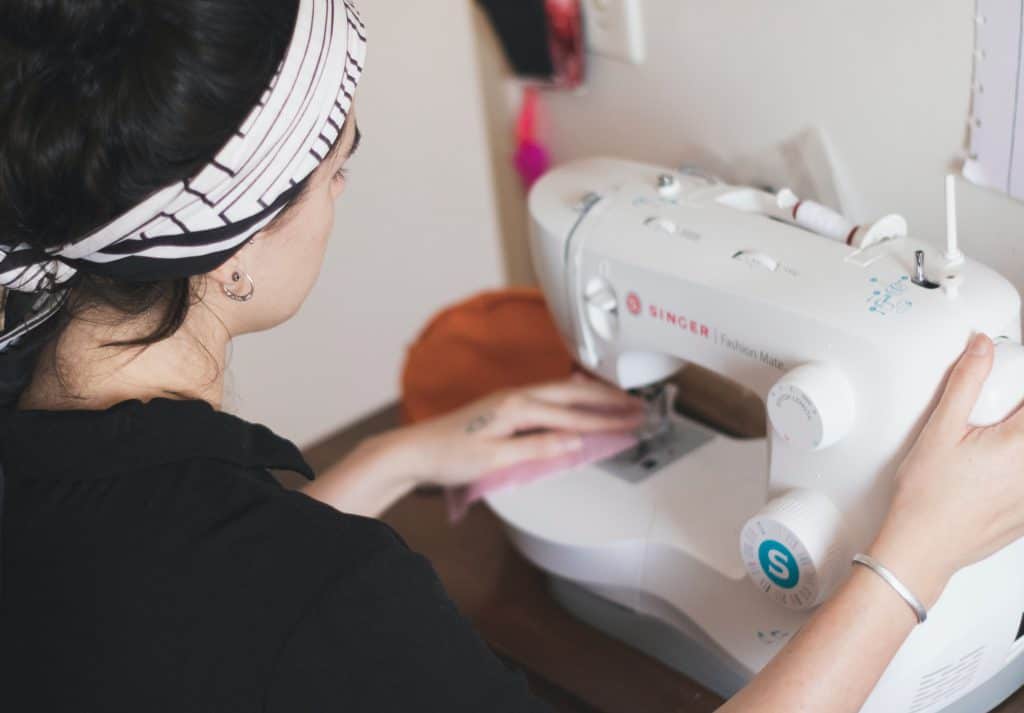
Purchasing a Singer sewing machine is one of the smartest decisions a seamstress/seamster can make (even Camila Cabello’s Cinderella owns one!). The Singer brand is highly regarded thanks to its reputation for durability, quality, and affordability. Today, Singer provides its customers with manual and computerized models; basic, heavy-duty, and quilting models; as well as models for all experience levels.
Yes, having a Singer sewing machine is great, but only if you know how to thread it. Figuring out how to do this can be tricky if you rely solely on the owner’s manual as diagrams can easily confuse you, especially if you’re a newbie. That’s exactly why I’ve prepared this comprehensive guide.
Important note: Please bear in mind that these are general guidelines and the details vary from one Singer model to another. You may need to consult your instruction manual if you get stuck or aren’t sure about a certain step.
Step #1: Turn Off Your Singer Sewing Machine
Since you’ll be pulling your thread through moving parts of your Singer, it’s crucial to switch it off and unplug it before doing anything else. If the machine accidentally starts running while you’re threading it, you may end up with horrible finger injuries. So, don’t overlook this step!
Step #2: Raise the Needle to Its Highest Position
Once the sewing machine is switched to its off position, you’ll need to adjust the moving parts by hand. To raise the needle to its highest point, you need to turn the wheel located on the right side of the machine clockwise and stop when the needle reaches the desired position. If you don’t stop turning the wheel, the needle will return to its first position, meaning you’ll have to repeat this step.
Step #3: Raise the Presser Foot
To make things easier and eliminate a potential obstacle, you need to lift the presser foot by pushing the lever upwards. The lever is usually located next to the needle base.
Step #4: Wind the Bobbin
Now it’s time to wind the bobbin, i.e. put a spool of thread on the spool pin and move the bobbin winder pin to the left. Next, find the end of the thread and insert it through the hole in the bobbin’s rim. Then, put the bobbin on the winder pin and return the pin to its starting position (to the right). Lastly, press the pedal and hold it pressed until the bobbin is wound. Skip this step if you have a pre-wound bobbin.
Step #5: Set a Full Spool of Thread on the Spool Pin
Place a full spool of thread onto the spool pin, which is typically located on the top of the machine. You’ll know the spool is locked in place when you hear a clicking or popping sound. Don’t forget to use a spool cap if your Singer model features a horizontal spool pin. This tiny piece will keep the thread pool on your machine as you sew. Match the size of the cap with the size of the thread spool to prevent the thread from catching on the cap.
Step #6: Pass the Thread Through the First Thread Guide
Find the end of the thread on the spool you’ve placed in step 5, and pull it across the top of your Singer all the way to the first thread guide. After that, insert the thread through the slot under the thread guide. Finally, wrap the thread over the top and then around to the right side of the first thread guide.
If you’re not sure which part is the first thread guide, feel free to check the chart in your user’s manual that shows what each part of the sewing machine is supposed to do or what its function is.
Step #7: Bring the End of the Thread Under and Over the Second Thread Guide
Enter the second thread guide from its right lower side and then insert the end of the thread over the top of the guide. Complete this step by grasping the thread on either side of the guide and pulling it to the end. This part should be next to the first guide, but go ahead and consult your owner’s manual if you’re not 100% sure.
Step #8: Take the Thread Through the Threading Canal and Tension Mechanism
To go through the tension mechanism, you need to insert the thread through the threading canal and around its bottom. Be sure the thread is straight and stretched. Once you reach the tension mechanism, you need to pull and wrap the end of the thread around it.
Step #9: Bring the Thread Back up on the Other Side of the Canal
Now that you’ve taken the thread through the tension mechanism, it’s time to pull it back up on the other side of the canal and then bring it over the take-up lever, which is the part that regulates the tension on your Singer.
Step #10: Take the Thread Back Down and Through the Last Part of the Canal
This step consists of two parts. First, you need to pull the end of the thread down through the last part of the canal. Second, you need to take the thread through the thread guide above the needle.
Step #11: Thread the Needle From the Front to the Back
The thread needs to be pulled down towards the needle’s eye. Once you complete this, take the thread through the needle’s eye and pull it through until you arrive at around 6 inches (approx. 15 cm) past the eye. If you’re having a hard time threading the needle, trimming and/or stiffening the end of the thread with water might make things easier.
Step #12: Lift the Needle to Its Highest Position With the Hand Wheel
It’s now time to load the bobbin. The first step you need to take here is to raise the needle to its highest point by rotating the hand wheel clockwise. Skip this if you’ve already lifted the needle to thread the top of your Singer sewing machine.
Step #13: Open the Bobbin Case
You should find your bobbin case on the bottom of your Singer, i.e. below the needle. There should be a tab or a button to open the case and it should be empty.
Step #14: Put the Bobbin Into the Case
To determine the direction in which the thread is supposed to go, put the bobbin into the bobbin case following the arrows outside the case. If your Singer model doesn’t come with a front-loading bobbin case, you need to remove the case from your sewing machine, open it, place the bobbin inside the open case, and close it up.
Step #15: Bring the Thread Through the Slot
Pull around 6 inches of the thread you’re using through the slot. This should help the bobbin thread to catch the top thread. If the bobbin and top thread aren’t connected, your machine won’t be able to form stitches.
Do you need to take precise measurements here? No, you don’t. A little less or more than 6 inches of thread won’t ruin anything.
What should you do if your Singer model features a removable case? Find a hole and pull around 6 inches of thread through it before closing and replacing the case.
Step #16: Close the Lid and Turn the Wheel Clockwise to Catch the Thread
Congrats, you’re almost done! If you’ve completed the previous step successfully, you should put the lid back onto the case. You might need to apply a little pressure to snap the lid into place. There’s one extra thing you need to do if you’re dealing with a removable bobbin case. In addition to closing the lid, you should also close the slot in which you’ve previously inserted the bobbin case.
To catch the bobbin thread, you need to turn the hand crank clockwise several times. This is how you’ll link the bottom and top threads. When the two threads come up, they will look like a loop. If this loop blocks your way, feel free to move it to the back of your Singer. Unfortunately, the bobbin thread might not come up, in which case you’ll need to repeat this step.
Final Words
As you can see, threading a Singer sewing machine is a little complicated, but easily achievable. To complete all the necessary steps successfully, it’s smart to familiarize yourself with your model’s anatomy as a way to prepare yourself. You can obviously do this with the help of your instruction manual.
I know this task might seem too difficult at first, but I promise you’ll get the hang of it if you practice often. A little persistence (with a dash of patience) goes a long way!


