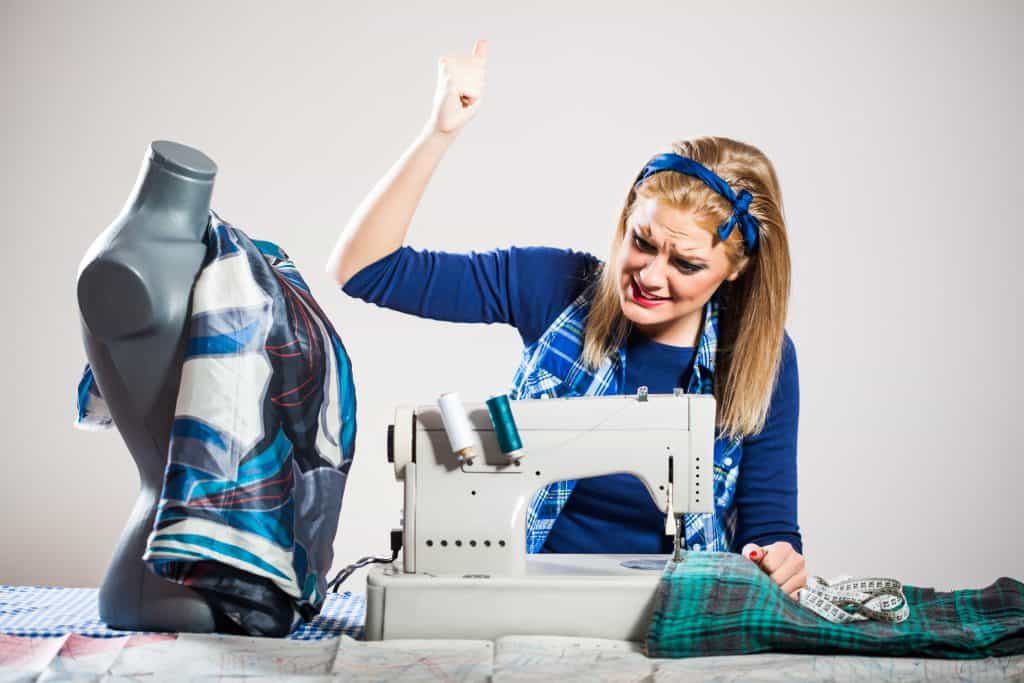
Sewing machines, just like any other machine type, are bound to cause some trouble no matter how old or used they are. Seamstresses and seamsters often have to deal with bent or broken needles, uneven or skipped stitches, broken threads, inconsistent fabric feeds, puckered and distorted seams, and numerous other frustrating problems when using sewing machines. Luckily, you can fix many of these at home regardless of your experience and sewing skill level.
When it comes to sewing machine repair, it’s important to keep in mind that the basics are the same for all machines, but the details vary depending on the model in question. That’s why you need to be properly familiarized with your sewing machine’s mechanics before trying to fix it. Read on to learn how to repair your unit and get back to your projects as soon as possible.
Problem #1: Thread Bunches up Under the Fabric
Having a beautiful straight stitch on the top of your project ruined by knots of extra thread under the fabric is a real bummer. Many novices believe this is caused by the bobbin, but they’re wrong. Usually, lack of tension on the upper thread results in a “bird’s nest” on the bottom.
To fix this issue, you need to follow a few steps. First, you need to remove the sewing from your unit and cut through the excess thread. Then, you need to lift the presser foot and rethread the machine. Check the threading instructions in your user manual to avoid making costly mistakes.
Next, you need to remove and rethread the bobbin. Be sure the bobbin is unwinding correctly and you’re working with the same type of thread in the bobbin and the top thread, otherwise the machine may draw the threads at different rates. Finally, make sure you have the right tension for the fabric weight you’re using. If you’re not sure what tension is ideal for your project, use a small piece of scrap fabric to test the settings.
Problem #2: Thread Keeps Breaking
This is another common sewing machine problem. When threads keep breaking, it usually means the thread type and the fabric weight aren’t compatible. You can fix this issue by making sure the top and bottom threads you’re using are of the same weight and steering clear of delicate hand-sewing types. If this doesn’t do the trick after you’ve rethreaded the top thread, you’ll need to lower the top thread tension, too.
Problem #3: Uneven or Skipping Stitches
Although this problem calls for professional help sometimes, you can try a few different things to fix it. The most obvious step is to check whether the needle is installed correctly. If this isn’t the culprit, you might not be working with the right type of needle for your project or the needle is bent or otherwise damaged. If this is the case, all you need to do is simply replace it. Keep in mind that sewing machine needles need to be changed every 8-16 hours of work.
Your sewing practices might also be at fault here. If you tend to pull the fabric from behind, you’ll likely end up with unclean stitches and even a broken sewing machine. The solution? It’s simple: don’t force-feed the fabric but work with the unit instead.
Problem #4: Bent or Broken Needles
If your needles keep bending or breaking, it’s probably a sign that you’re not using the correct size for the fabric you’re working with. Organza, silk, chiffon, and other lightweight materials require a size 9 or 11. Linen, flannel, and synthetic suede call for a size 14. Sizes 16 and 18 work best for heavy-weight fabrics like canvas, denim, corduroy, and chenille. The needle type is important as well. If you use a ballpoint needle to sew leather or denim with, chances are it’ll break or at least bend. These fabrics call for sturdy and sharp needles.
Problem #5: Inconsistent Bobbin Tension
Inconsistent bobbin tension is typically a result of a loose, worn bobbin (the part of the machine on which the lower thread is wound). All you need to do here is replace the old bobbin with a brand new plastic or metal one. Bear in mind that sewing machine bobbins aren’t universal, meaning you need to use the bobbins included with (or intended for) your unit. An inappropriate bobbin may spoil your stitch quality and even damage your machine.
Problem #6: Puckered and Distorted Seams
Puckered and distorted seams are often caused by improper thread weights. If you make the mistake of using a stiff or thick thread for a project with lightweight fabrics, chances are you’ll have to deal with distorted seams and altered tension settings. Uneven feeds can also result in distorted seams, which is why you should make sure your feed dogs (the metal teeth-like ridges that grip the bottom fabric and help it pass through the machine as you sew) are functioning properly and the presser foot pressure is correct.
Problem #7: Thread/Fabric Bunches up at the Start or End of Seams
Bunched or tangled threads at the ends of seams are typically a consequence of backstitching over the material’s ends. This problem can easily be avoided by sewing around 3 mm into the fabric before back-tacking at the start and end of each seam. This is how you’ll ensure the backstitches aren’t over the fabric’s edge. To achieve a clean finish when completing a seam, backstitch before you reach the edge and sew straight off of the fabric.
Problem #8: Unthreaded Needle Before Sewing
To be able to fix this issue, you need to remember that the needle needs to be at the highest point in its path before threading the machine. If you have a relatively new model, there’s probably an ‘up and down’ button to automatically lift or lower the needle to its highest or lowest point.
Problem #9: Sewing Machine Isn’t Feeding the Fabric Through
If your sewing machine isn’t feeding the fabric through at all, it’s possible that your feed dogs got dropped, in which case you need to raise them using the lever on your unit. Another potential culprit is a lowered stitch length (0 or around 0). If that’s the case, bumping it up to 2.5 can solve the issue. Finally, if all else fails, check whether the presser foot is down and the pressure setting is suitable for the fabric of your choice.
Problem #10: Sewing Machine Is Turned on, but Needle Won’t Move
This issue is often caused by an internal drive gear failure, a broken drive belt, or a disengaged clutch. If you’ve disengaged the hand wheel clutch for bobbin winding, re-engage it and see if the needle will start moving. If a disengaged clutch doesn’t turn out to be the cause of the problem, check the drive belt and replace it if it’s broken. It goes without saying that you should do this after you’ve unplugged the machine.
Unfortunately, the third potential cause of this common sewing machine problem isn’t something a ‘regular’ seamstress/seamster should try to deal with. Drive gear failures require the help of experienced service technicians.
Problem #11: Sewing Machine Won’t Sew
When a sewing machine doesn’t sew, you should try to turn the handwheel to help it become unstuck. If this doesn’t do the trick, you might be working with a fabric that’s not appropriate for your unit (usually too tough). If this isn’t the case, check the needle: it needs to be the right type, in good condition, and properly installed. If all else fails, cleaning your sewing machine according to the instructions in the user manual might help as dust and built-up fuzz can block its mechanisms.
Problem #12: Sewing Machine Makes Strange Noises
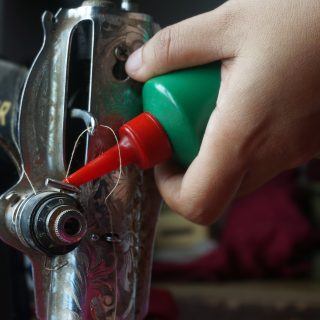
Your sewing machine isn’t supposed to produce clangs, clunks, thumps, and other unusual sounds. If or when that happens, you must stop using the unit at once. This may be a sign that the machine needs to be thoroughly cleaned, for which you need to follow the cleaning and maintenance guidelines provided by the manufacturer in the owner’s manual. Once you finish this step, it’s smart to test the unit on a small piece of fabric. If it still makes strange noises, it’s best to consult a professional, for there’s probably a complex issue only experts can fix.
Final Words
Equipping yourself with the necessary skills and knowledge on basic sewing machine repair is smart, but you mustn’t overlook the importance of regular cleaning and maintenance either. Lint and dust can accumulate in the machine’s key parts, like in the case of the tension assembly and the bobbin, which can be the reason why your unit is misbehaving. You can clean your machine yourself (following the owner’s manual guidelines, of course) or have it serviced professionally. A thorough wipe-down once a week is a must if you use your machine every day. Machines that are used only once a month need to be cleaned every three months.


