“I daresay there’s plenty of young witches who’d give their high teeth for an ol’ hat of mine,” said Granny, lifting up the battered hat.
“There are,” said Tiffany, and did not add, “and it’s eyeteeth actually.” What she did add was: “But everyone has to find their own hat. The right hat for them, I mean.” (excerpted from A Hat Full of Sky by Terry Pratchett)
We can forgive young Tiffany Aching’s naivety about finding the right witch hat, because she lives on Discworld – a world not at all like ours, a flat world that is carried by four elephants standing on a turtle, a world where magic and witchcraft is not exiled to the fringes of society and where no pseudo-wiccans are trying to enchant the moon on Twitter or make David Lynch sick by pure negative thoughts on reddit. Still, even on Discworld, the wisdom of great Esmeralda “Granny” Weatherwax would object to the idea of finding the right hat:
“I make my own,” she said. “Every year. There is no hat like the hat you make yourself. Take my advice. I stiffens the calico and makes it waterproof with special jollop. It’s amazing what you can put into a hat you make yourself.” (excerpted from A Hat Full of Sky by Terry Pratchett)
You might not have any special jollop and you are not Granny Weatherwax in any way, but here I am to walk you through the steps of how to make a witch hat by yourself, which will be like no other hat showcased during Halloween.
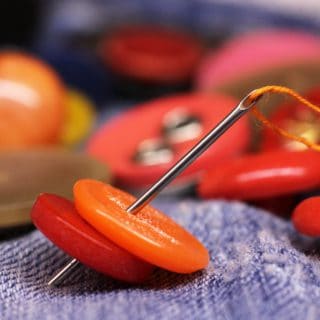
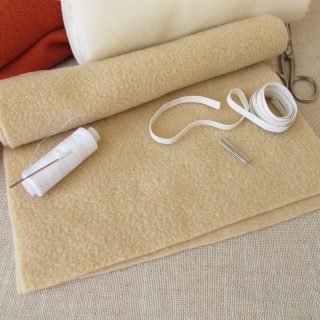
Materials You Need to Make a Witch Hat
It would have been nice if Terry Pratchett were kind enough to include a sewing tutorial for witch hats at some point in his Discworld series, but he has already done more than enough for us and I am a firm believer in the idea that some things are better left to the unique interpretations of the readers.
Here’s my interpretation for the materials needed to make a witch hat:
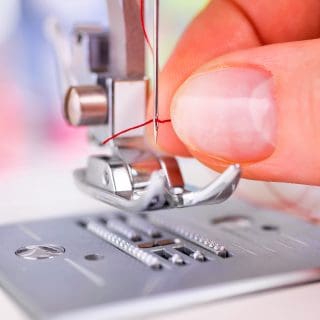
- Sewing machine (or needles)
- Ample premium felt (or calico, if you want to stiffen it)
- Pattern (which you can find online for free or which you can pay for)
- Thread the same color as that of the fabric
- Scissors
- Pencil and Chalk
- Ruler and measuring tape
- A functioning enchantment spell for added protection upon completion
How to Make a Witch Hat: A Step-by-Step Guide
Step 1: Make Measurements
Getting your measurements right when making a witch hat is crucially important because otherwise you’ll end up with a hat that can fly away after an encounter with a strong gust and then no one will think that you mean business or, worse, respect your authority.
For a hat sitting well on your head, you need to measure your head circumference around your forehead with the help of the measuring tape and add an inch to it while creating the bottom of the cone. If you don’t add an inch, the hat will leave your forehead exposed despite the brim, and that is not an appropriate look for a witch.
Having measured your head circumference and noted it down, you need to decide on a brim diameter: how long and how imposing you want the hat to be. For this part, you might want to remember a basic geometry formula: diameter x pi (3.14) = circumference. Create or adjust your pattern accordingly.
To create the cone, you’ll need more formulae:
- diameter / 2 = radius
- radius^2 + height^2 = slant height^2
Radius is half the diameter, so you’ll have to calculate the half of your head diameter and add it to how long you want your cone to be in terms of height and extract the square root of the final number you have. That will be the slant height of the cone you are about to cut.
I personally recommend a short or a medium cone length. Otherwise, you might unwittingly turn into a Disney villain or an inept witch who has to compensate for her inability with pomposity.
Step 2: Cut the Fabric for the Cone and Brim
That was the most difficult step in this project, and by now, even if you haven’t bothered to look at the patterns provided for free online, you should have a pretty good idea how to cut the fabric thanks to the measurements I gave right above. So, you know how to cut the fabric for the cone: the bottom edge should be an inch more than your head circumference, and you might cut it as an arc that semi-encircles the circumference line, and you have to go up from both of its ends as much as the slant height to meet in the middle in symmetry.
The brim of the hat is easier once you decide on the diameter, and even if you have never done this before, you should encounter no difficulty while cutting it. Just remember to leave the middle of the brim open in line with your head circumference.
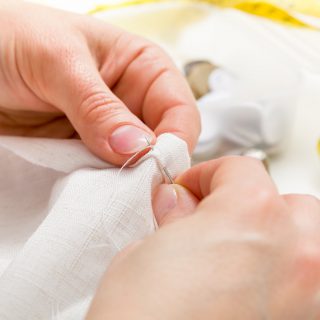
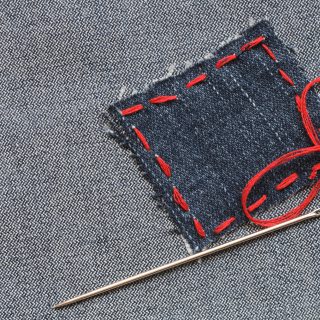
Step 3: Seam the Cone
Bring together the slant edges of the cone and secure them in place with sewing pins with quarter an inch of a seam allowance. Then, start stitching the seam together either by hand or with your sewing machine.
Step 4: Assemble the Cone and Brim
If you got your measurements and cutting right, the bottom edge of the cone should just fit into the inner circle of the brim. Once again, secure it in place with sewing pins and seam it with a quarter an inch of allowance.
Step 5: Ornament It
“I see, you’re now wearing a shop-bought one, then,” said Granny Weatherwax. “One of them Sky Scrapers. With stars,” she added, and there was so much acid in the word “stars” that it would’ve melted copper and then dropped through the table and the floor and melted the copper in the cellar below. “Think that makes it more magical, do you? Stars?” (excerpted from A Hat Full of Sky by Terry Pratchett)
Dear ol’ Granny Weatherwax is opposed to the idea of ornamenting witch hats in her wise pragmatism, but as I said before, you are no Granny Weatherwax and it’s your own unique hat after all.
Of course, it would be preferable if you didn’t pick stars as your ornamental items while there are a huge number of other and more imposing, cool, and witchy stuff to choose from – like huge spiders, medium-sized spiders, and tiny spiders.
Step 6: Put It On and Walk Out
“You can’t make happiness …” Granny Weatherwax stared at the distant city. “All you can do,” she said, “is make an ending.” (excerpted from Witches Abroad by Terry Pratchett)
That’s it – that’s the end of this cute, easy, and fun project. If you did it for your kid or kids, you may find that you have made happiness in under half an hour.
Final Words
We are now living in a disenchanted world totally devoid of magic. That’s why there is so much magic in books and movies and that’s why there are so many tutorials online on how to make a witch hat. But I can’t in peace of mind say that, if there are any real witches out there, that they are having it difficult now, because once upon a time, believing in paranormal such as witchcraft was the norm – a norm that had cost many good underprivileged women who wore no such hats their lives.
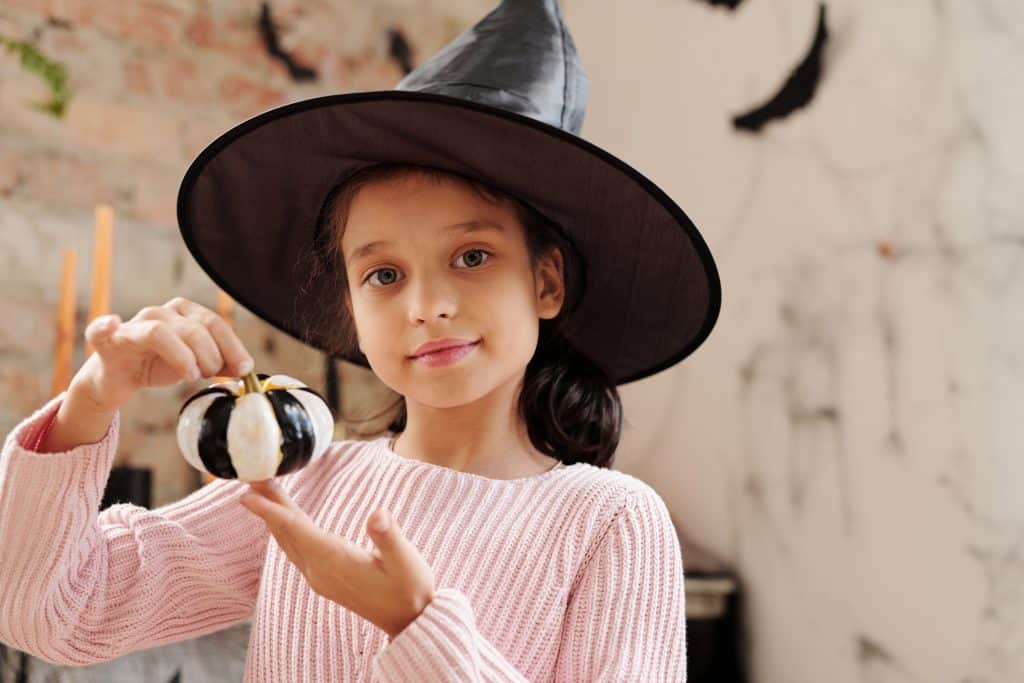
However, the introduction of witch hats that are imposing and sometimes even scary through popular culture signifies something else than Disney villains: we feel safe and strong under them. Our daughters feel that there is strength in them while straightening the brim of their hats and shaking their wands threateningly around during Halloween. I believe that there is also some kind of empowered joy in these acts, and no doubt, there is joy under witch hats.
Moreover, if you did a good job while sewing one, you can wear it in your everyday life as well. Of course, people on the subway or Walmart will make connections only to the Harry Potter universe as the actual cultural muggles they are, but I am sure that you’ll be a sight for some sore eyes.