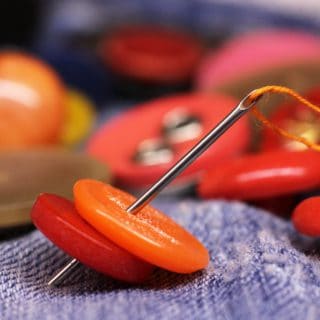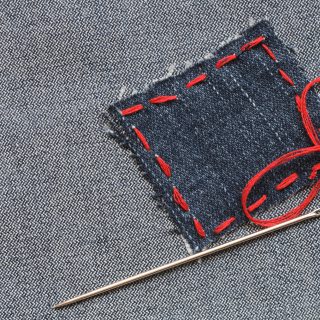
I can not stress enough how important it is to learn how to cut fabric straight especially if you plan on sewing it.
There’s no fabric project I can think of that doesn’t involve at least one straight edge. Cutting a straight edge on fabric can be very tricky, as it’s mostly about the precision of your hand and eye.
If you don’t make a proper initial cut, your project can result in twisted seams or pieces of different lengths that you can’t match later, as well as other types of fabric deformations that could ruin your entire fabric (sewing or non-sewing) project.
The thing is that not even the fabric that you get from the store is always cut straight. There can be a certain level of mistake, which means that before using the piece of fabric for a project, you need to check whether it has a straight edge, or make a new one.
As you know, in sewing, preparation is a job half done. You can sew your curtains perfectly, but if they’re not cut straight on the edges, they will look horrible.
Straightening the fabric should always be done before anything else, including cutting pieces from a bigger piece of fabric for making a pattern.
I know, cutting fabric is among the first steps to take, and nobody wants to get stuck on the first step of a new project. But don’t worry, cutting fabric straight doesn’t have to be scary. It can take a little bit of practice to hit that first straight edge right, but once you get a grasp of that, I am sure you will have no problem making these perfectly clean straight cuts.
Here are some tips I can give you on how to cut fabric straight without too much stress and sweat.
How to Cut Fabric Straight: Tips and Tricks
First, you need to check if your fabric is cut straight.
- Fold the fabric salvage to salvage;
- Does it meet up perfectly?
If you see a bubble forming on the bending line, it means that the piece is not cut straight. A straight edge cut fabric should be easily folded salvage to salvage without any creasing.
Preparation
Before it’s time to cut the fabric (and then start with your project), there are a few things to do that among other things, will make cutting more precise and simple.
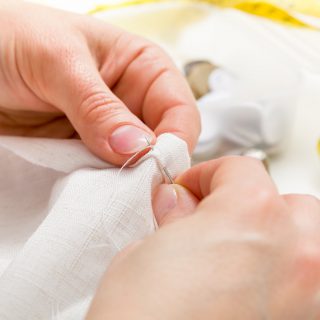
Wash and Iron the Fabric
I strongly recommend this to become your habit. Right after you purchase a piece of fabric, wash it and iron it. The thing is, fabrics can shrink after you wash them, so if you’ve done measuring and cutting before washing, you can be unpleasantly surprised later.
That’s why you can expect the best results if you wash, dry, and iron your fabric before doing anything else.
Ironing the fabric will help you get the most precise measurements. This is particularly important if we’re talking woven fabrics.
Also, keep your iron nearby when you start sewing as well because it can come in handy for flattening the surfaces while sewing.
Use a Flat Surface for Work
For the most precise cutting results, always place the fabric on a flat, hard surface. Otherwise, you can mess up your lines. Floor carpet for example is not a flat, hard surface, but a table is.
If you have a table to cut your fabric on, make sure that all of the edges are up on the table. If an edge is hanging from the table it can cause uneven cut lines.
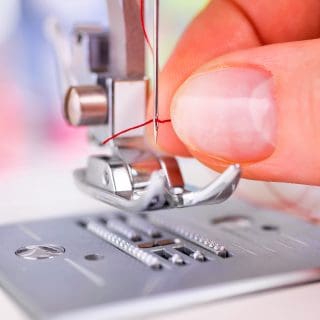
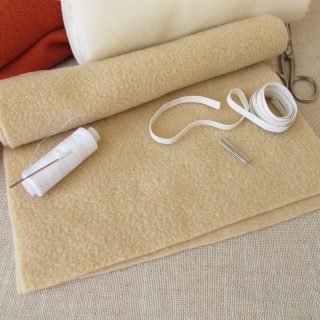
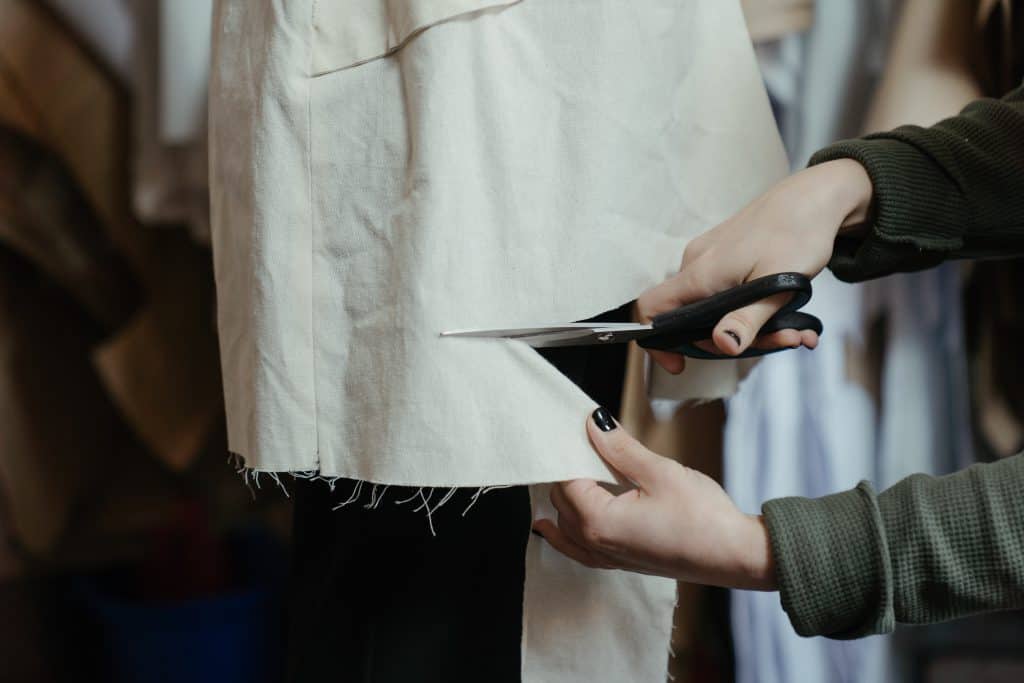
Sharp Scissors
Finally, perhaps the most important element in the fabric cutting process is the scissors. Do you have a pair of big, sharp, sewing scissors?
Almost every sewist that I know has tried many different types of scissors, and many of us, still today, use different scissors for different materials because that’s how we feel the most comfortable and confident.
Although you probably want to save money on menial sewing tools like scissors, I strongly recommend that you don’t get stuck with a cheap pair. They can work just fine in the beginning, and then suddenly become dull and useless, so you’d have to buy new ones again.
That’s why investing slightly more money in a high-quality pair of scissors will actually save you money in the long run.
Rotary Cutter
Another fabric cutting tool you can use is the rotary cutter. Straight lines are its specialty.
If you like to quilt, this is by far the best machine to use, but keep in mind you should use it with a ruler.
Some skilled sewists even use the rotary cutter for making patterns, however, this takes more skill.
Cutting Machine
Finally, a cutting machine can also come in handy for cutting specific types of fabric such as felt or faux leather, because these can be tricky to cut with a rotary cutter or scissors.
If you have an intricate design to cut out from a bigger piece of fabric, the cutting machine can also help you out with that.
Determine the Type of Fabric
There are three main types of fabric, classified by how are they produced by the manufacturer. The type of fabric can have an impact on your approach to cutting because different materials have different characteristics.
- Knit fabric is made of a single continuous piece of thread looped and interlocked together. Knit fabrics can stretch both vertically and horizontally, but they differ by how much they can stretch.
- Woven fabrics are made of several threads interacting in a criss-cross pattern. They are usually not very stretchy, but you may sometimes encounter the ones made of stretchy threads.
- Non-woven fabrics are, on the other hand, usually made by bonding separate fibers together chemically, mechanically, or thermally. The fibers can be made of plastic film or molten plastic.
All three types of fabrics will have selvages you are to protect from fraying or unraveling on both sides of the fabric. Selvages are what need to be cut straight. Also, you need to find your fabric’s grainline, which is the direction of parallel threads running to selvages.
The direction of the grain is the lengthwise direction of the particular piece of fabric.
Cutting the Fabric: Methods
Now, I will share with you some specific methods for cutting fabric straight, using different tools.
Method #1: Pull a Thread
This is my favorite method and probably the most precise one. It is most commonly applied to woven types of fabric.
The process is very simple and accurate, but it does require your focus and patience.
Here’s a step-by-step process on cutting a piece of fabric straight with this method:
- Find an edge of fabric that hasn’t been finished.
- Take a piece of thread and pull it carefully.
- When you pull the fabric, expect it to gather a little bit. When this happens, straighten it and keep pulling slowly until the thread is out completely.
- Once the thread is out, you will see a gap line. This is where you make the cut.
- I strongly recommend using scissors for this method because they allow you to go slowly and accurately along the line.
- In case a thread breaks as you pull it before reaching the salvage, don’t panic. Just start cutting until you reach the place where it broke. Then, pick another thread in the same line, and repeat the whole process.
- The whole point is to reach the salvage, so once you’re there – voila. You have a straight fabric cut.
- When you cut, make sure to hold the fabric with one hand and scissors with the other. The fabric should remain on the surface (table) at all times.
Method #2: Cutting Knitted (and Some Woven) Fabric
The former method works great for woven fabrics, but not so much for the knitted. It also works well for non-woven fabrics and woven ones with a thread that’s difficult to pull out.
Here’s the step-by-step instruction:
- Line up the selvage edge with the table edge.
- Press the fabric with some weight, like heavy books, or fix it with some tape. The point is that it doesn’t move.
- Put the other edge over the fixed one and check that they align.
- If you see they are going inward or outward from the table edge, mark that with a pencil or fabric marker, and make a cut.
- You can also use a 90-degree ruler by simply aligning it with the fabric (the 90-degree corner should be on the side and the longer side should go across).
- Draw a line above the ruler that is perpendicular to the fabric selvage and cut through it.
Method #3: Cutting on a Large Cutting Mat
In case you have a cutting mat, this should make things even easier for cutting the fabric straight.
The cutting mat should be big enough for the fabric width you plan on cutting. Then, follow these steps:
- Place the fabric on the surface.
- Measure the length between selvages.
- Divide that in half.
- Mark the fabric parallel to selvages and draw a line with a ruler to connect the marks. This is a median line.
- Fold the fabric along this line.
- Make sure that you have properly aligned the selvages.
- Put the folded fabric on the cutting mat.
- Use the gridlines and align the edge you’ve folded with a mat line.
- Make a new line so that it’s vertical to the folded edge.
- Cut the fabric along that line.
Method #4: Ripping the Fabric
Ripping the fabric may sound a bit counterintuitive, but it’s a very precise method for cutting the fabric straight.
If you’ve been buying fabric in stores, you’ve probably seen the staff do this. No, this is not a skill that requires decades of experience working with fabrics. You too can learn how to do this, it’s a simple technique.
If you’re in a rush, ripping the fabric is probably the fastest method of cutting the fabric straight with great precision.
Important disclaimer: this method can be applied on natural woven fabrics only, and they should be of good quality, otherwise, it won’t end well.
The fabrics you can easily rip with precision: silk, cotton, wool. If the fabric contains elastane, do not rip it.
Also, do not rip the fabric along the grainlines. The ripped edge of the fabric can become a bit looser, so if you want to avoid this, you can measure a distance of few inches from that edge, draw a line with a ruler, and cut with scissors. Because the edge will be perfectly straight, the parallel line you’ve drawn with a ruler should be too.
But, how do you actually rip the fabric? Well, first cut a few inches from the edge, in the direction you want the fabric to be ripped. Then, pull it apart firmly using both hands.
Method #5: Folding the Fabric Along Selvages
This method is only good if you need a straight line in the middle of a larger fabric piece. If you need to cut close to the edges, you should avoid this method.
The length salvage in this method is used to align the fabric properly, so don’t cut too close to it.
Before folding, make sure that the salvages are straight and flattened. Then, fold the fabric in half lengthwise and along the salvages lengthwise and smooth it with your hands.
If the folded line is perfectly straight, you can cut along.
Method #6: Cut Along the Pattern Line
In case the fabric you’re using has a certain pattern (ideally a grid or stripes) you are extremely lucky, as you can simply use the pattern line to cut your fabric straight!
The pattern makes it simple to cut either perpendicular or parallel to the pattern lines. You can use a ruler of a triangle for help. For example: if your fabric has horizontal stripes, but you want to cut vertically, use the triangle to draw vertical lines that are normal to the horizontal stripe pattern.
Method #7: Cut Fabric Straight With a Rotary Cutter
Cutting the fabric straight with this tool is best done if the fabric is previously washed and ironed/pressed.
After you’ve completed that, follow these steps:
- It is desirable to use a cutting mat.
- If the piece of fabric is large, fold it into a smaller size. If it’s not big, just line up one side that’s already straight to the bottom/top line.
- Take a clear ruler and line it up with the cutting mat lines.
- Use a handle or the tripod method so the ruler stands firmly.
- Take the rotary cutter and cut along the line of the ruler.
- If you’re dealing with a larger piece of fabric that you had to fold previously, it may take several passes with the cutter until you cut all the folded layers.
Important: Protect Your Hands While Using a Rotary Cutter
When it comes to using sharp objects, safety measures are a must-do.
I strongly recommend using non-slip safety gloves with dots that help you get a grip of the ruler without sliding. These gloves have fingers infused with steel in case the cutter slips so that your fingers remain safe.
Another option is to use a gripper for the ruler so that you don’t put your hand on it at all. When you use the grip, you actually hold the handle with your hand and apply pressure ensuring a straight cut.
Method #8: Cut Fabric Straight Using Laser Scissors
Maybe you haven’t heard about this tool before, but this may be the perfect tool for sewists who constantly have to deal with huge pieces of fabric that require straight cutting: laser-guided scissors for all kinds of fabric.
Although these scissors provide you with a perfectly straight line to follow while you cut, it is still recommended to first draw a line.
The difficult part about this product is that as you hold the scissors, they usually move a bit, making the laser point in different directions every few seconds. That’s why you need a drawn line, to know where to return the laser.
So, although a cool and fun gadget, I think these scissors are not the most useful tool you’ll find for cutting the fabric straight.
Other Cutting Machines
When it comes to other cutting machines, the way you use them depends on their characteristics. For example, you will take a different approach with a manual fabric cutter compared to an electric/digital micro circular machine.
In this article, I will not go any deeper into the topic of cutting machines, but I do strongly recommend reading the manual or finding an online tutorial for your specific model.
Troubleshooting in Case Something’s Off
So, you’ve done everything according to the plan, but something’s off: the fabric isn’t in the right shape, it’s not lying flat, etc. What to do?
First, try to remember what the person who sold you the fabric did with it before. Maybe they used the ripping method, so now the fabric is loose. In that case, go back to this method in the article and find out how to fix it. Or, find a partner, and each of you grab the fabric with both hands on all four ends. Pull the fabric with opposite hands. Do this on both axes (vertical and horizontal).
The point is for the fabric to get pulled across the grain and then the warp and threads will become straightened.
Wrapping It Up
Cutting the fabric straight is absolutely essential for any project. Hand sewing, machine sewing, knitting, etc, it’s usually impossible to follow a certain model unless relying on straight lines.
Experienced sewists know very well that preparation is a job half done, so the more you know about cutting fabric and making straight lines, the smoother your project will go.
I know, you came to read this article to get some quick tips, and instead, you ended up reading a long article.
Yet, I am sure that all this knowledge will find its use if not in your current project, then in the next ones.
So, to wrap things up:
- To cut fabric straight you need good tools: rotary cutter, sharp scissors, or another cutting machine – whatever works best for you.
- I strongly recommend using a cutting mat because on many occasions it helps not only to avoid damaging the table/other working surfaces but also for precise measuring and aligning.
- Analyze your fabric, and depending on the type of fabric, decide on the ideal method of cutting the fabric. Sometimes it’s best to use the ripping method, but at other times it’s easier to follow the stripes, or you may need to follow the fabric line.
That’s it, thank you for your patience and attention. If you’re interested in more tutorials, visit my website and find out how to sew stretchy fabric, how to fix a hole in a leather couch, how to fix ripped jeans, and much, much more.